DIY simple jewellery dish

Inspired by the celestial cycle, this DIY jewellery Dish is a simple, beginner friendly craft project to try in an afternoon. With minimal materials required, you’ll be able to create something unique for yourself or to gift to friends and family, I think they would make gorgeous birthday gifts.
DIY Jewellery Dish | Materials
Ceramic Dish (I got mine from Hobbycraft)
Navy & Gold acrylic paint
Small & Medium paint brushes
Sealant
Paper and pencil to practice
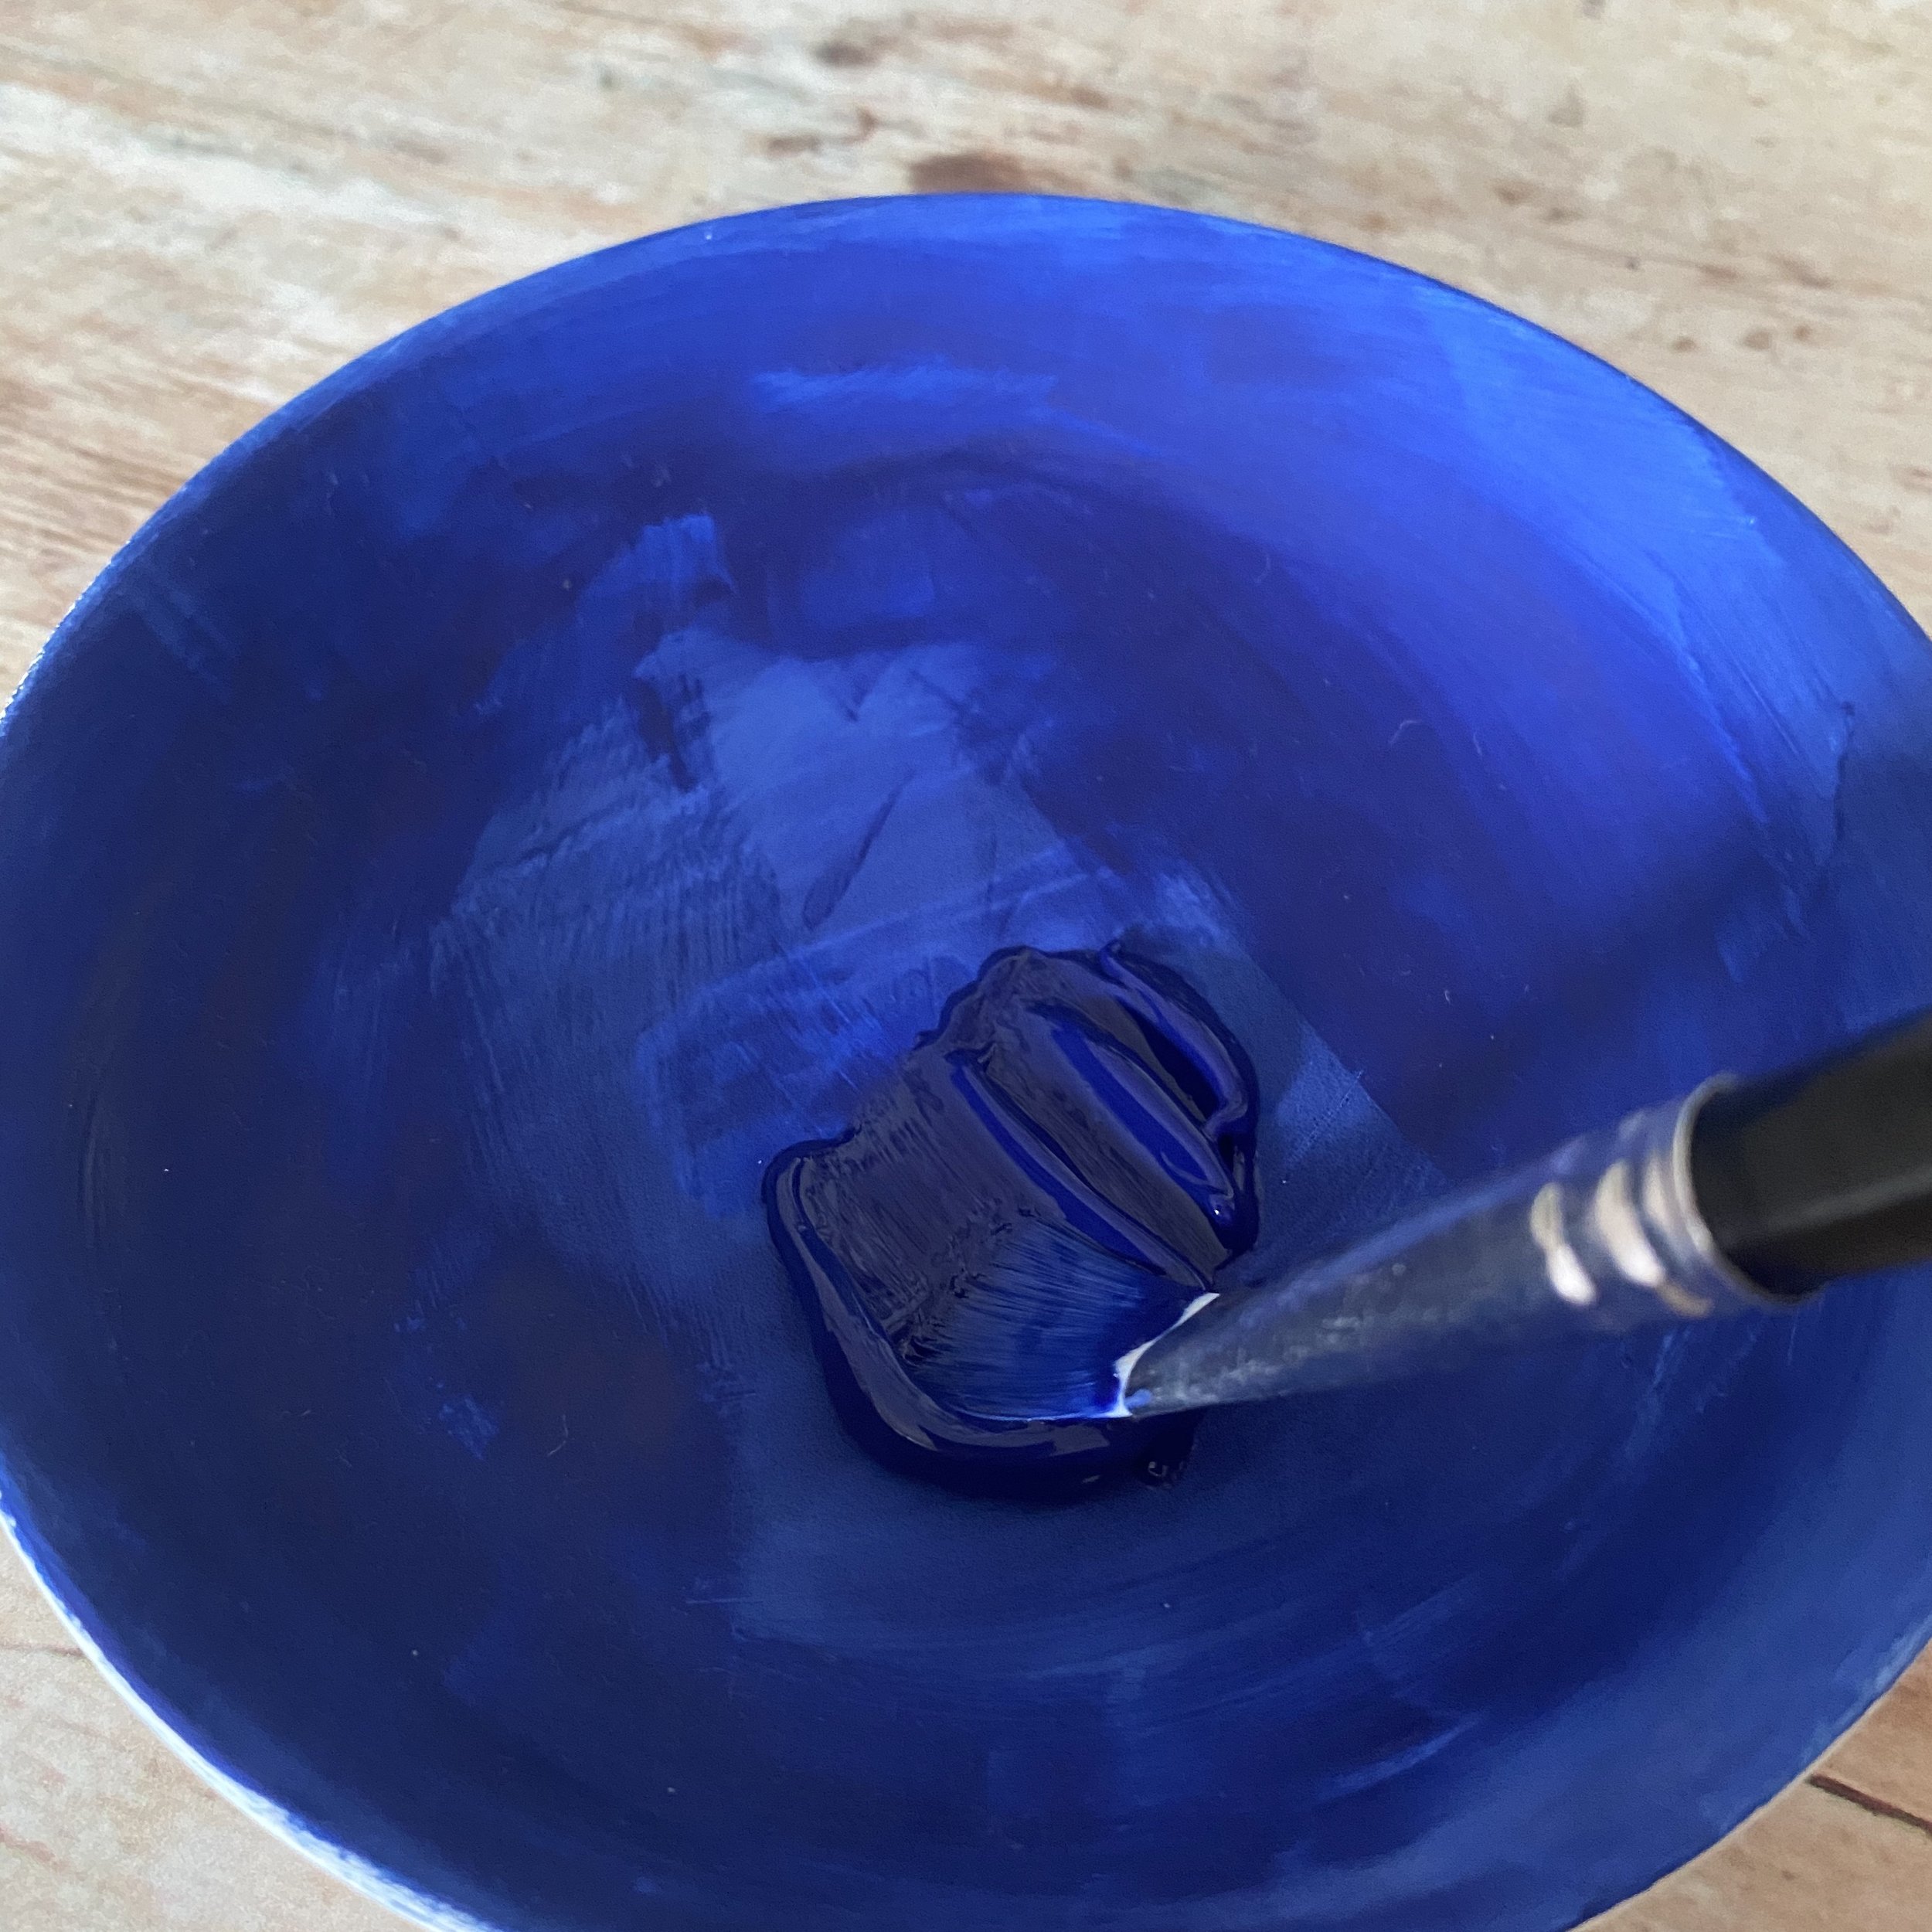
Firstly, apply a coat of your blue acrylic to the ceramic bowl spreading the paint evenly across the circular base. Use a medium size paint brush for this for good coverage and so that you can still control the paint. You can use a hairdryer on a low setting to speed up the drying process by holding about 15cm above the bowl to dry the first layer. Add another coat of blue acrylic to the ceramic bowl again spreading evenly across, once covered use the hair dryer again to make sure your blue base is dry.
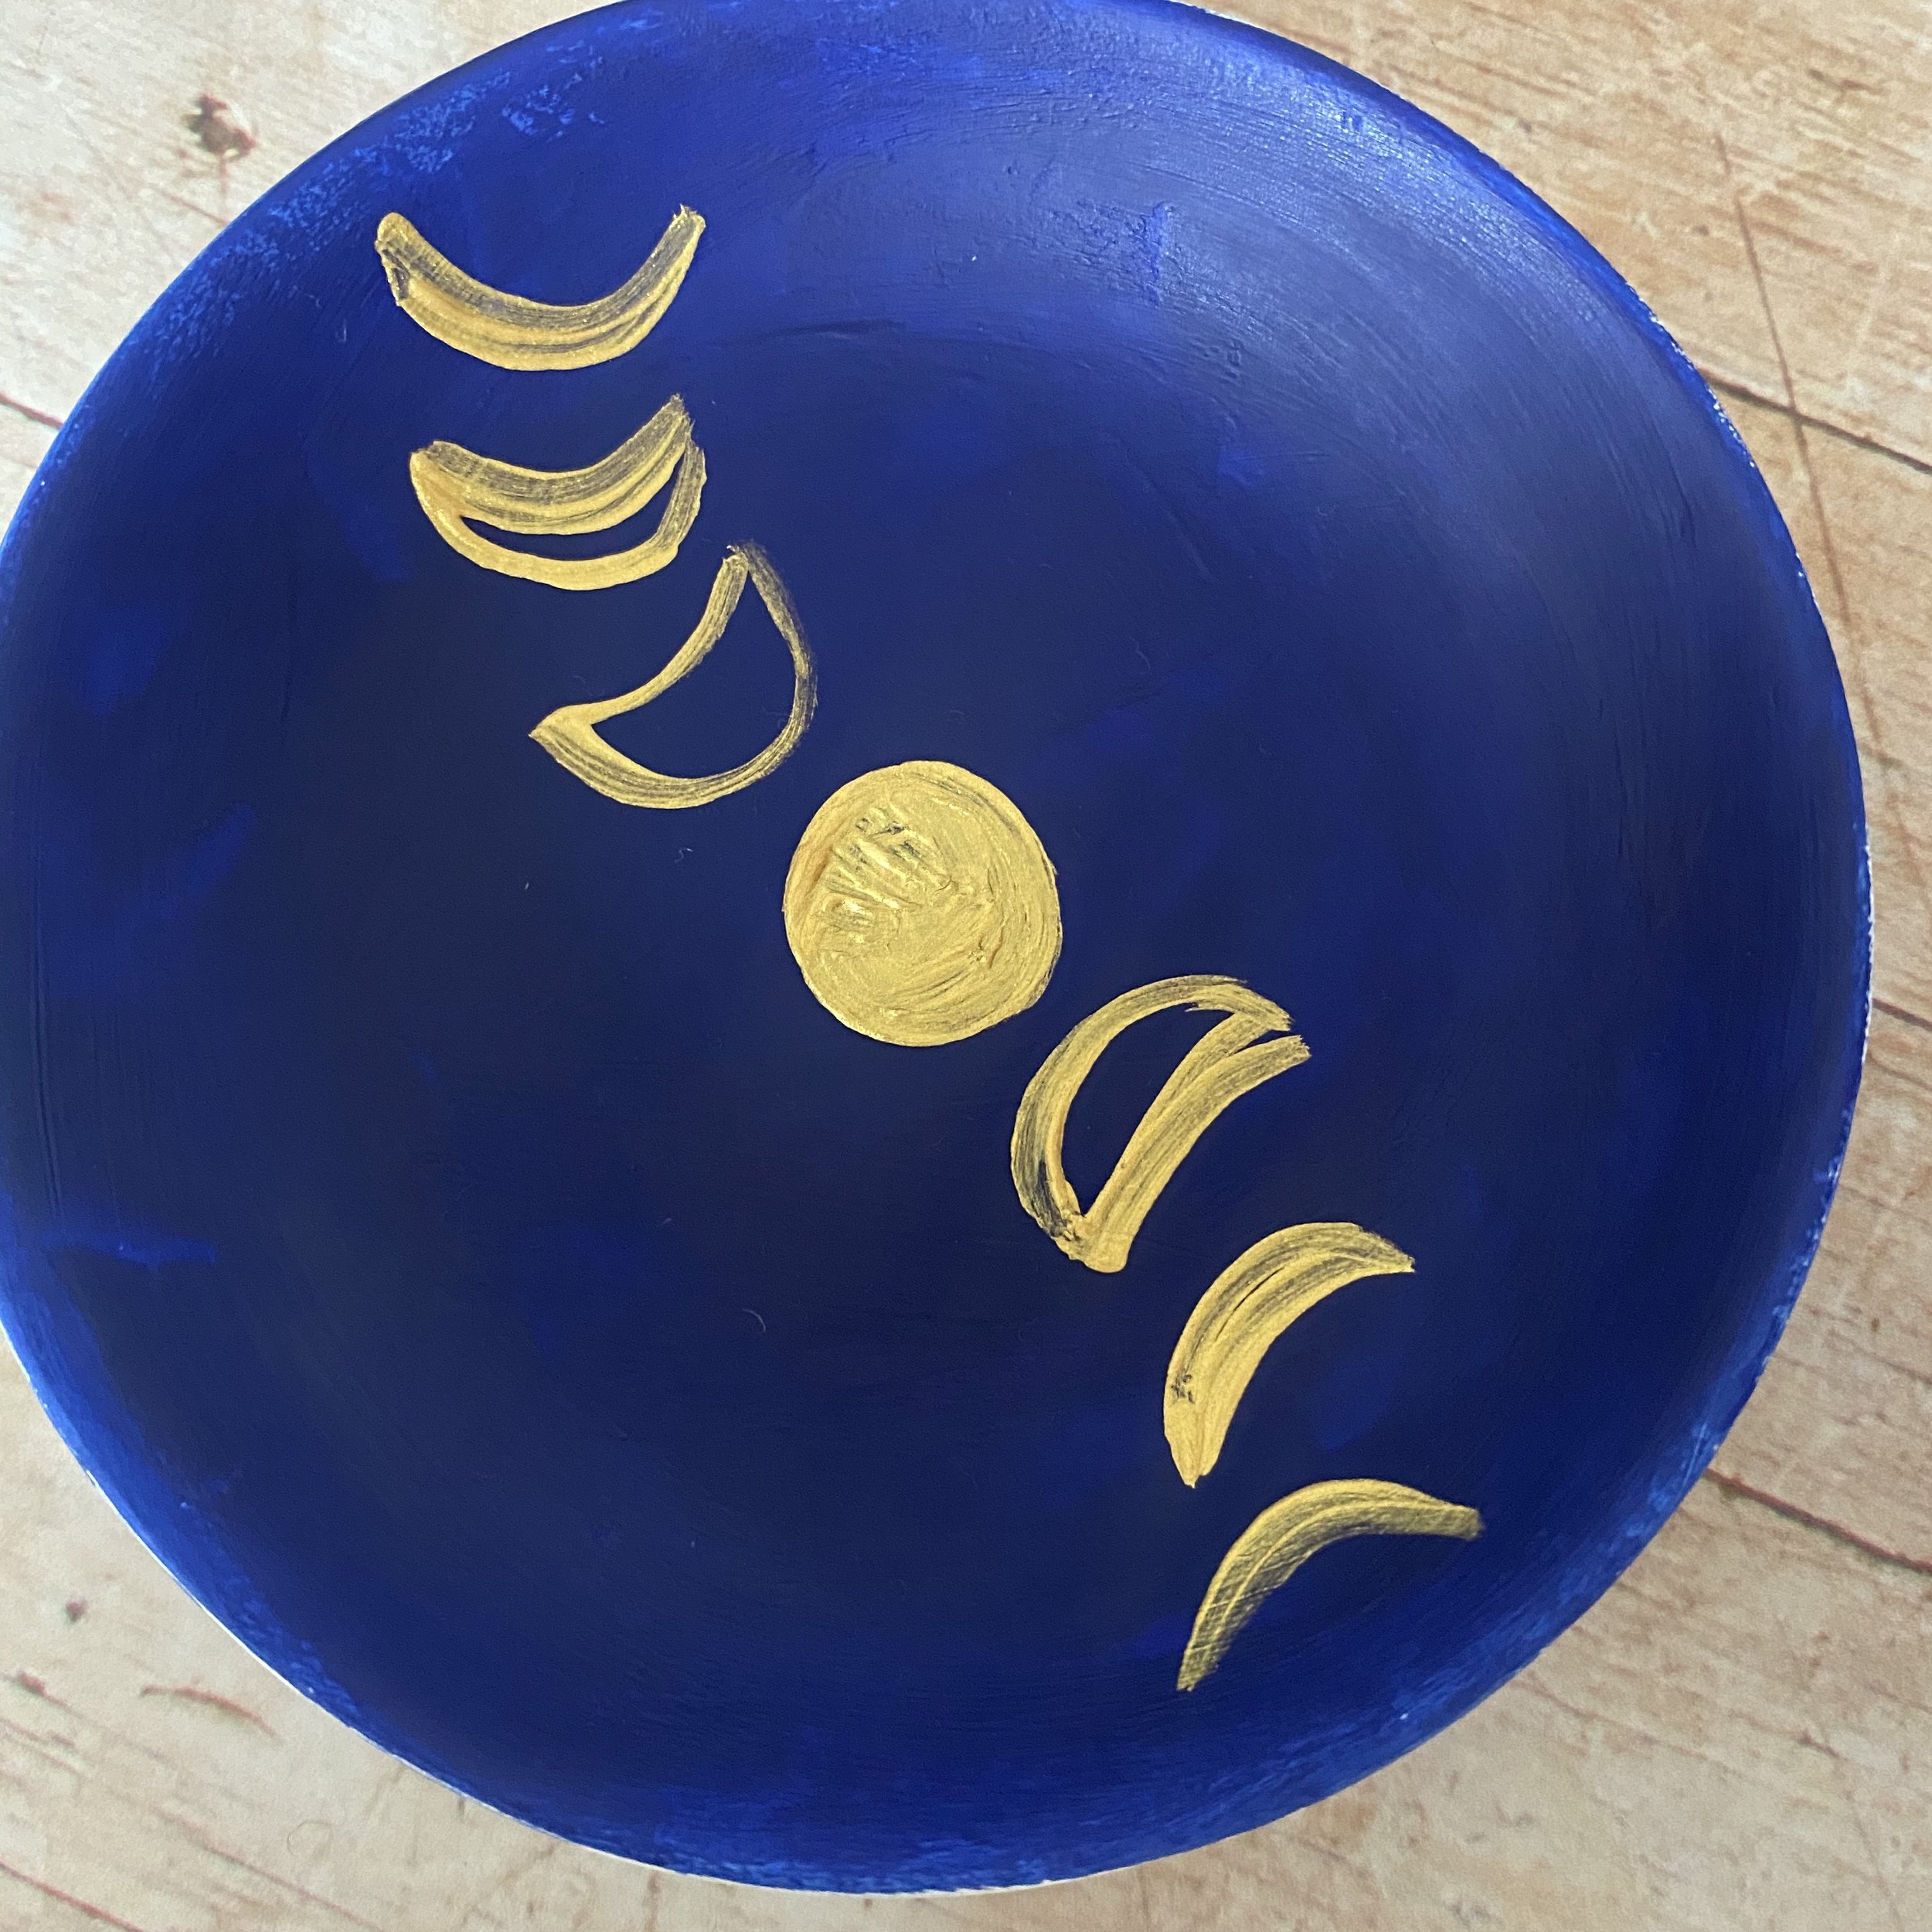
Have a practice of the moon phases on paper with a pencil, I’ve created my design so that the circle sits in the middle and 3 different size moons work out curving from the centre. It may help to draw around your dish so you know how much space you have to work with and practice painting them in the gold in this space using the small paintbrush. When you feel confident to work onto the dish begin in the middle with your full moon shape colouring in, this will work as your guide to add in the other shapes.
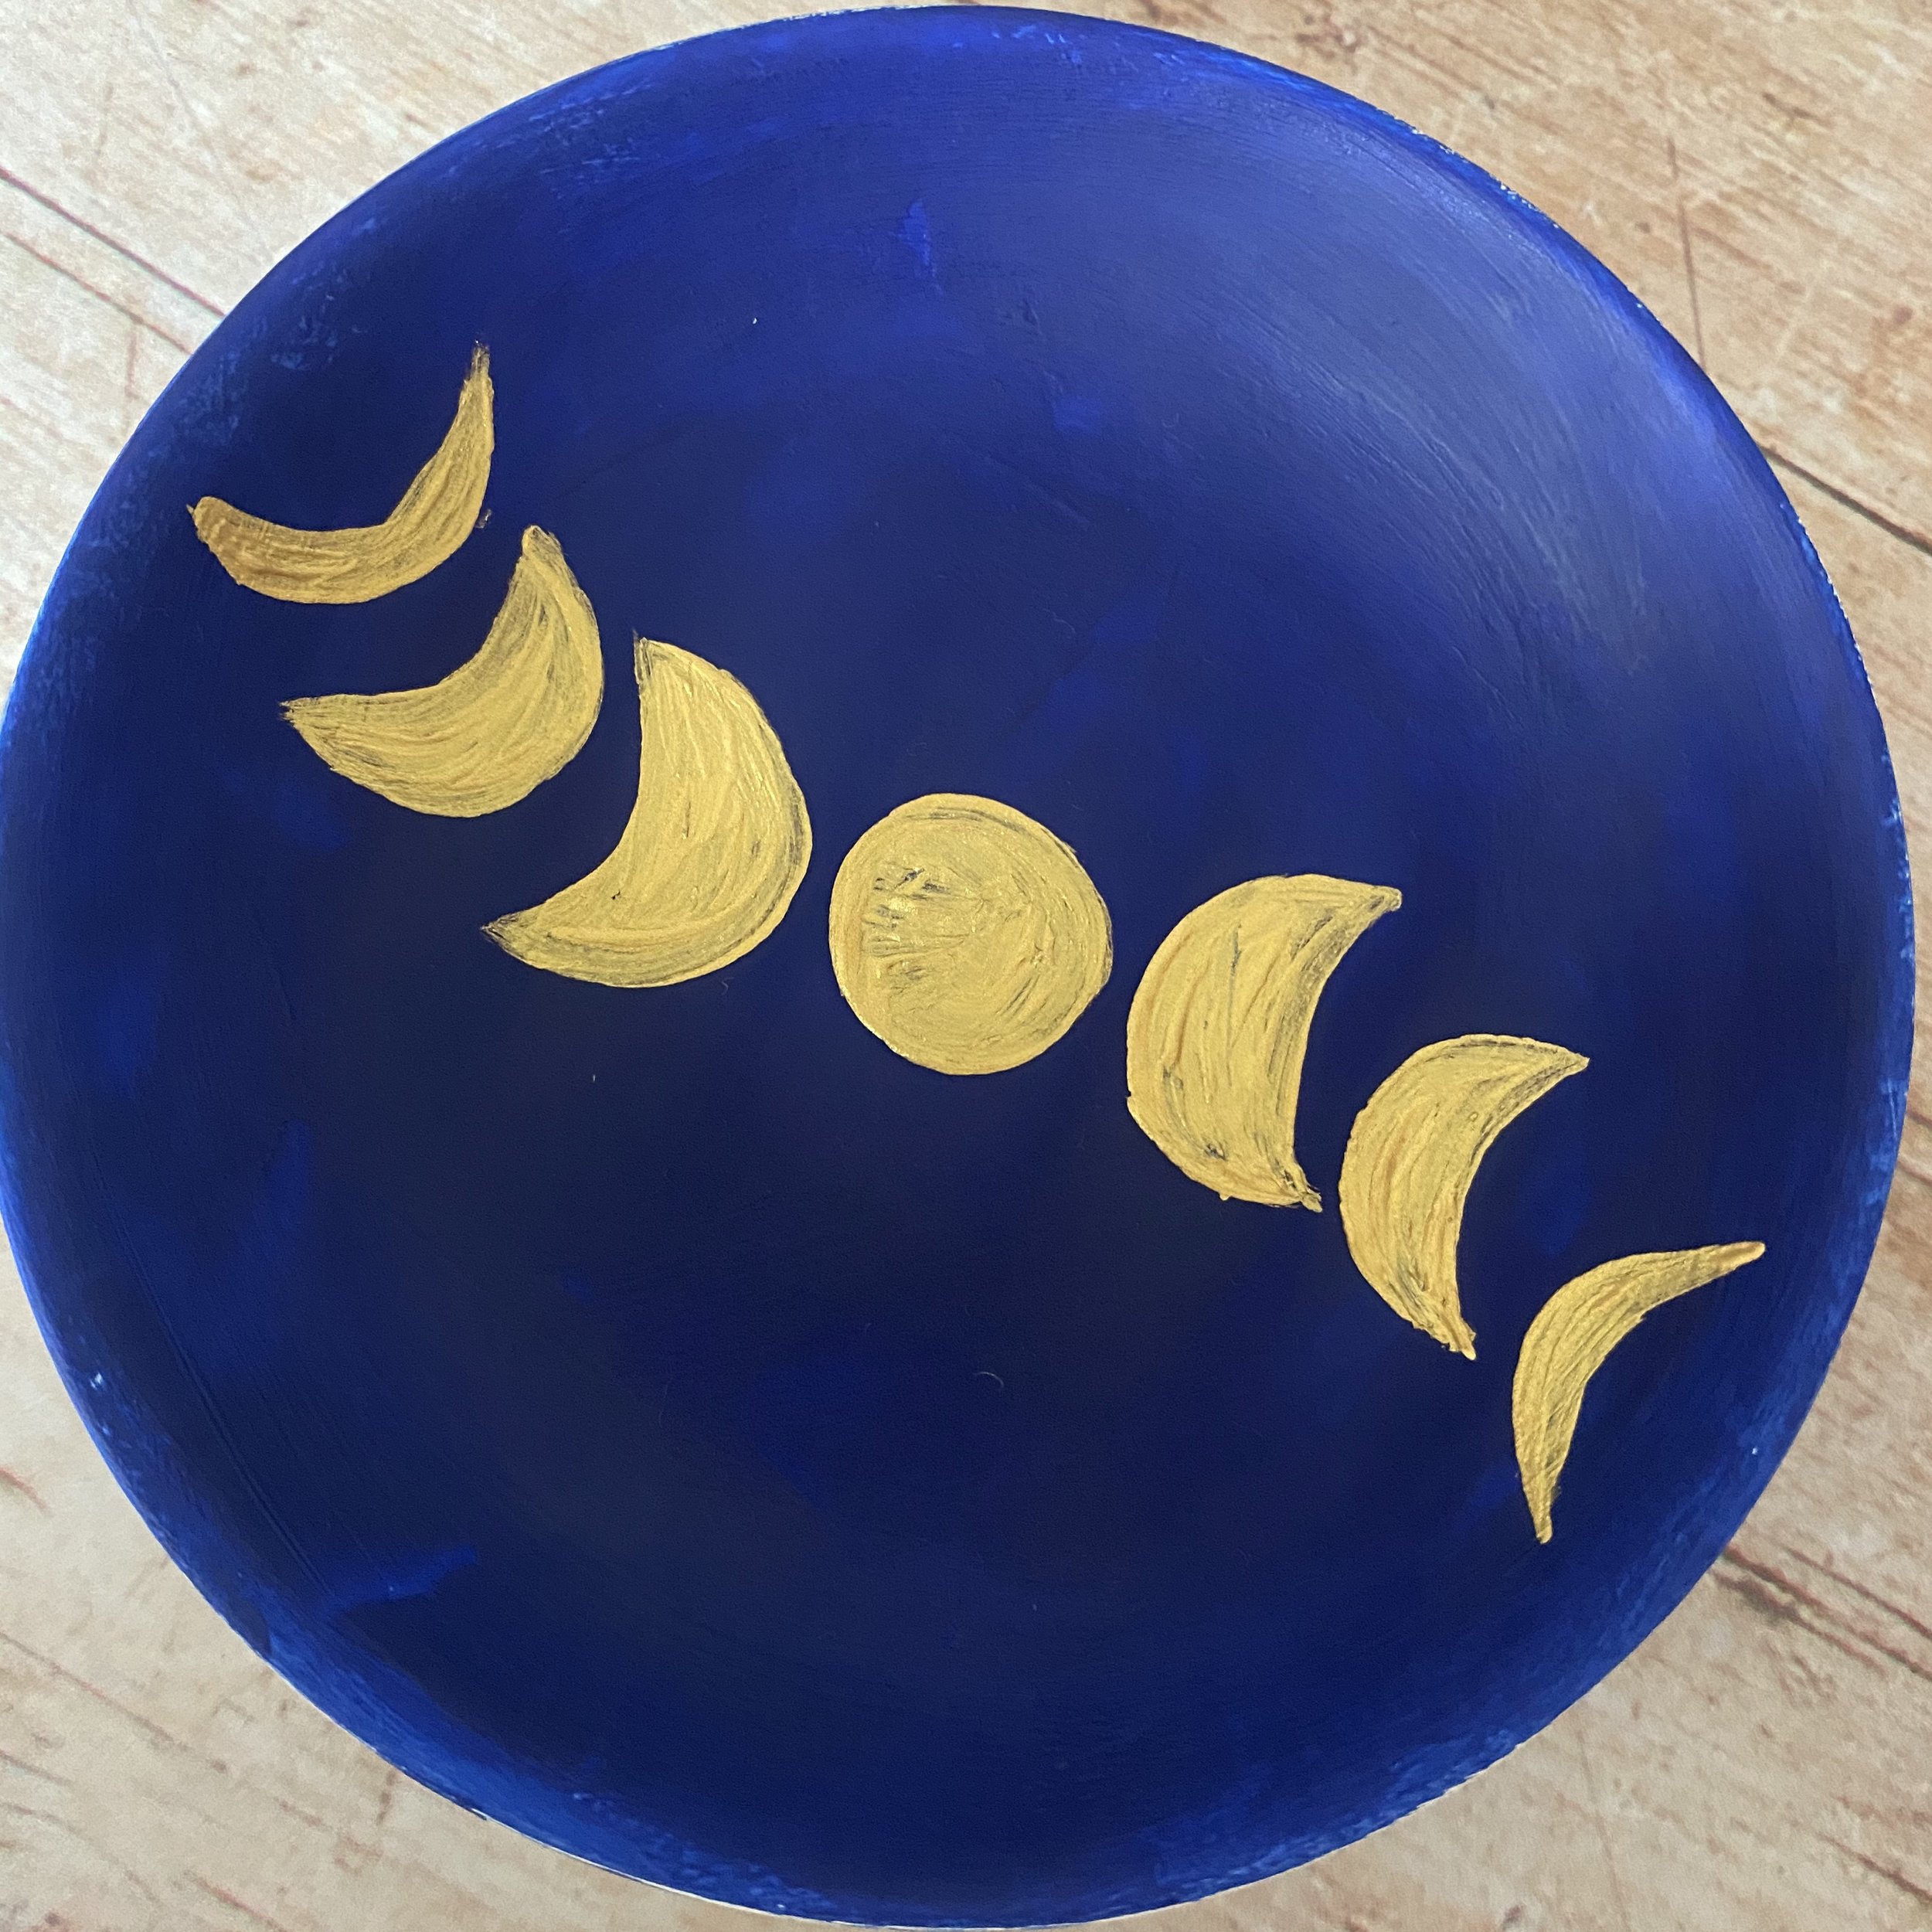
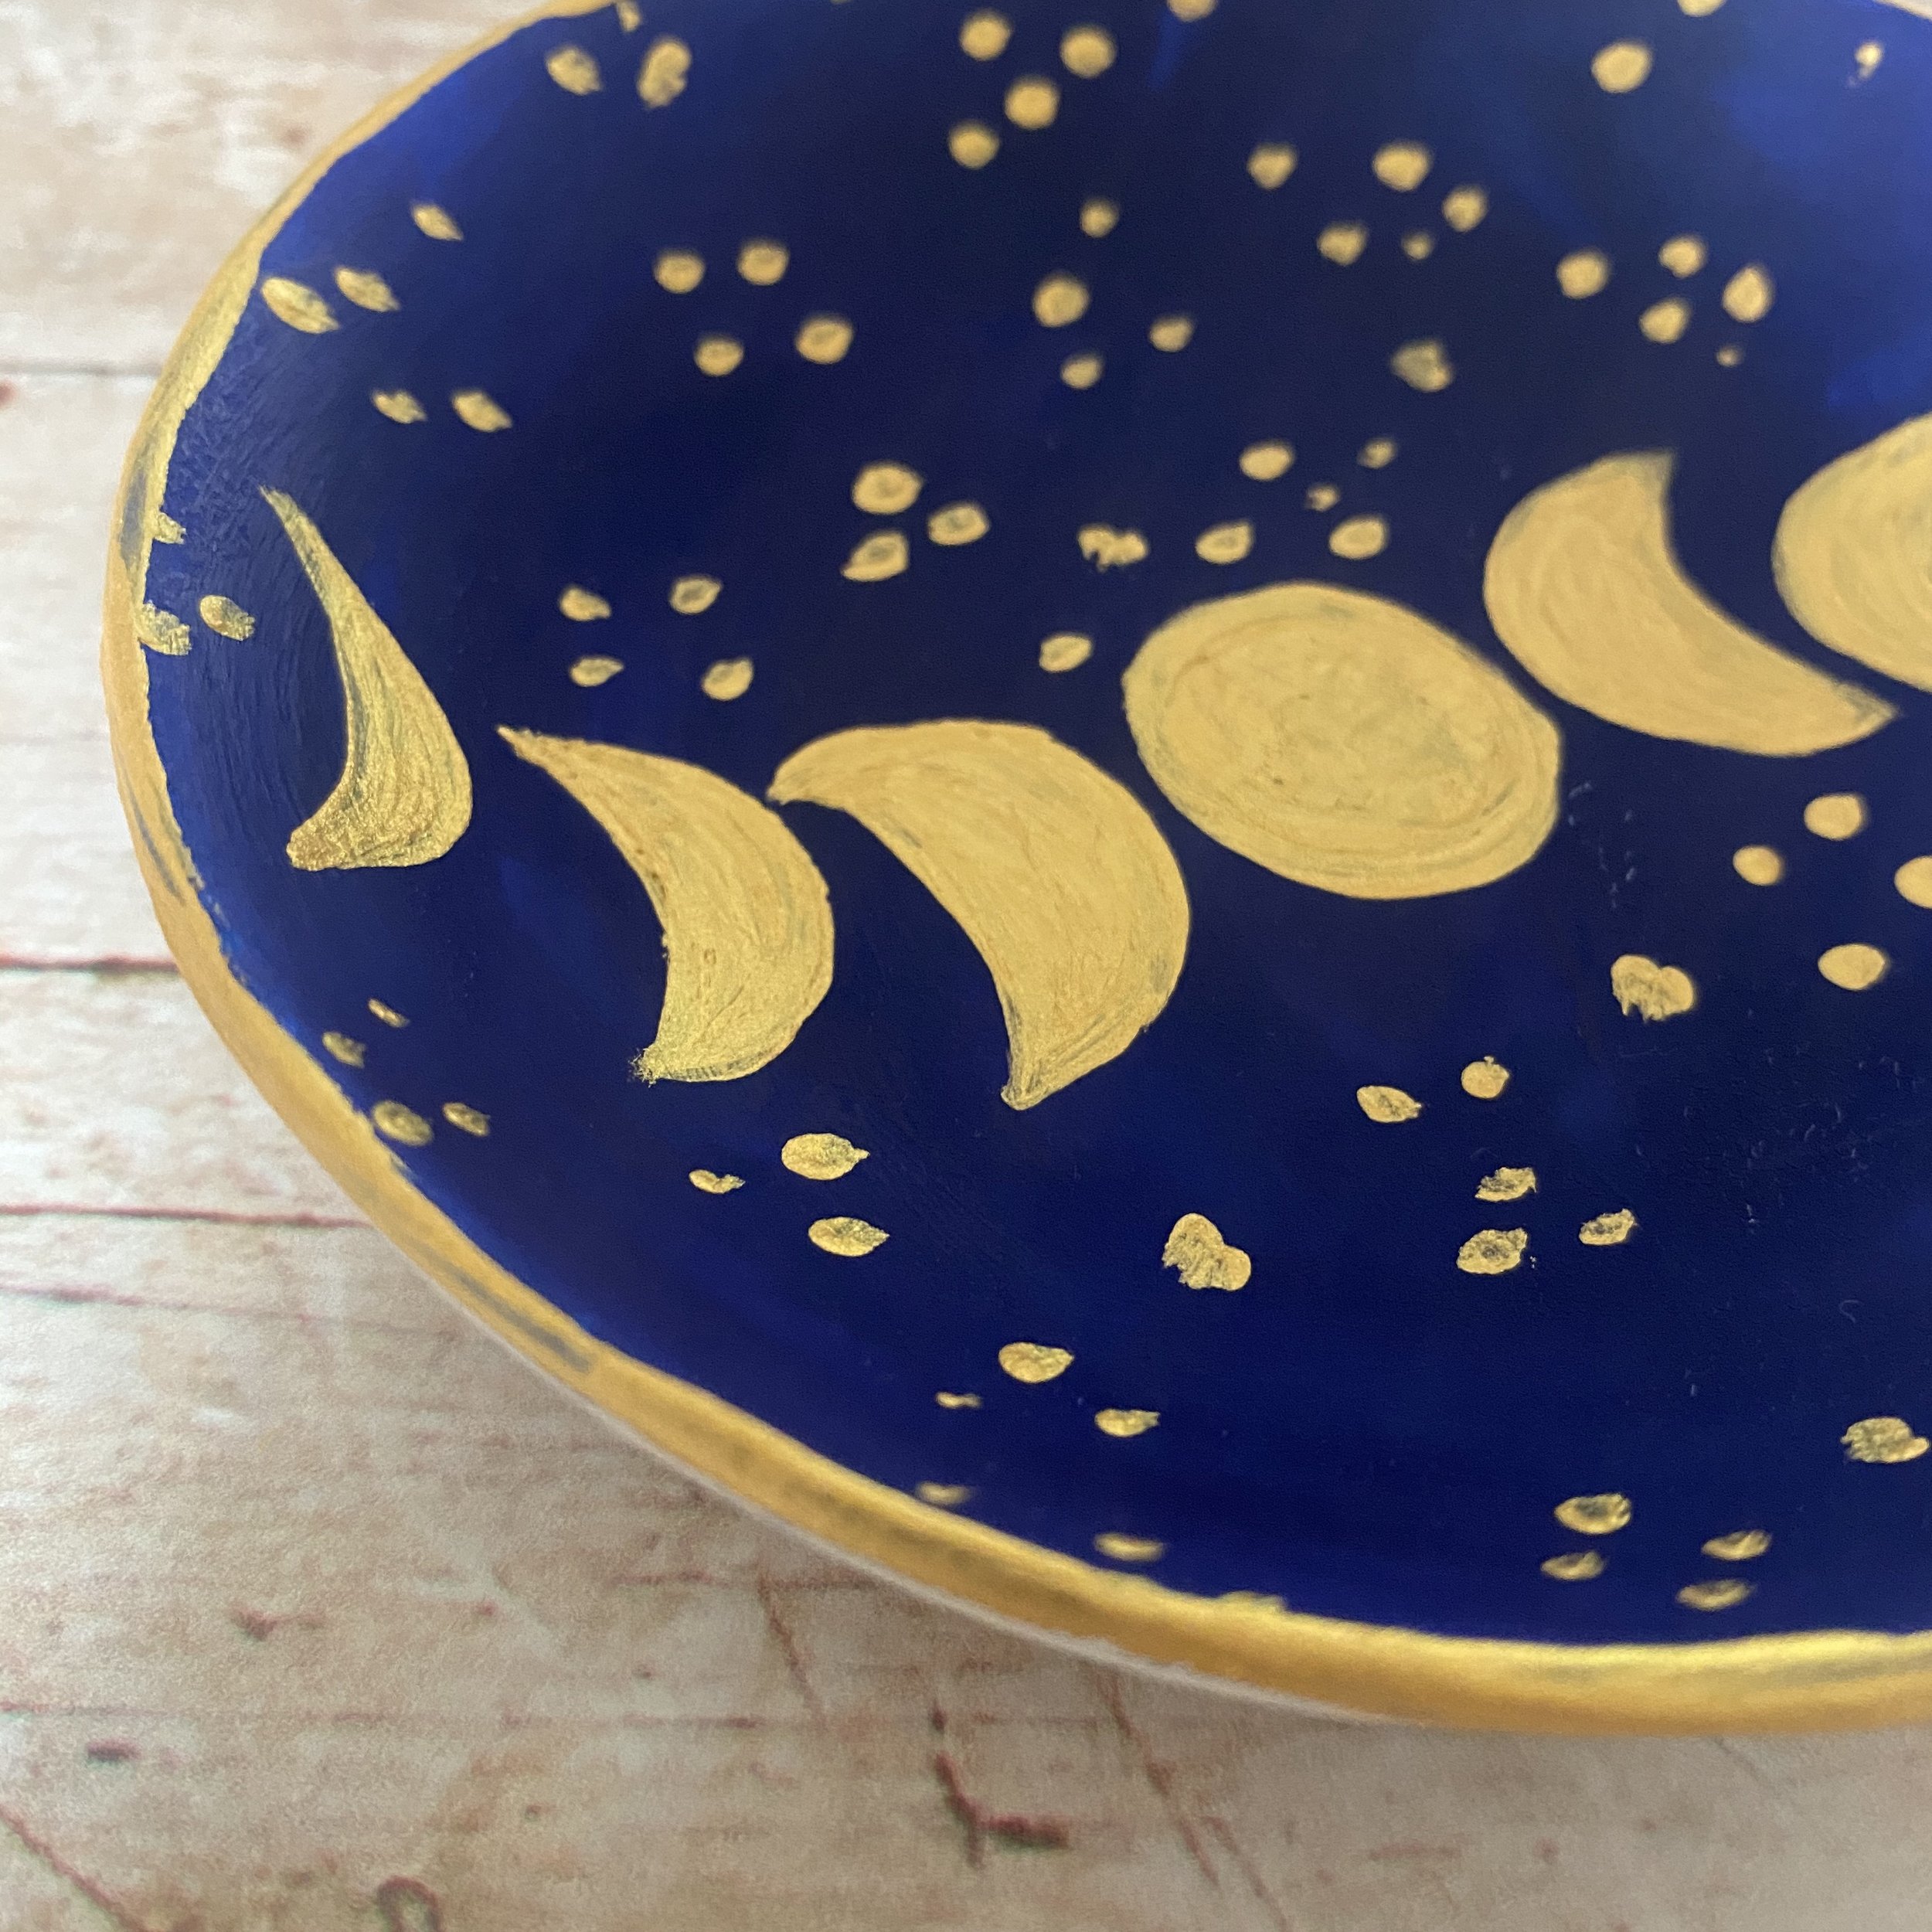
Colour in the moon shapes with the gold paint and finesse your crescent shapes with the small paint brush. Once you are happy with the moons, add clusters of dots around the rest of the ceramic dish, Just dabbing your brush lightly onto the ceramic with the gold paint. Finally, add a layer of gold paint to the rim of the dish working around the curve. You can then spray your dish with a sealant or add a gloss to make the dish waterproof.
