Paper cut Autumn wreath

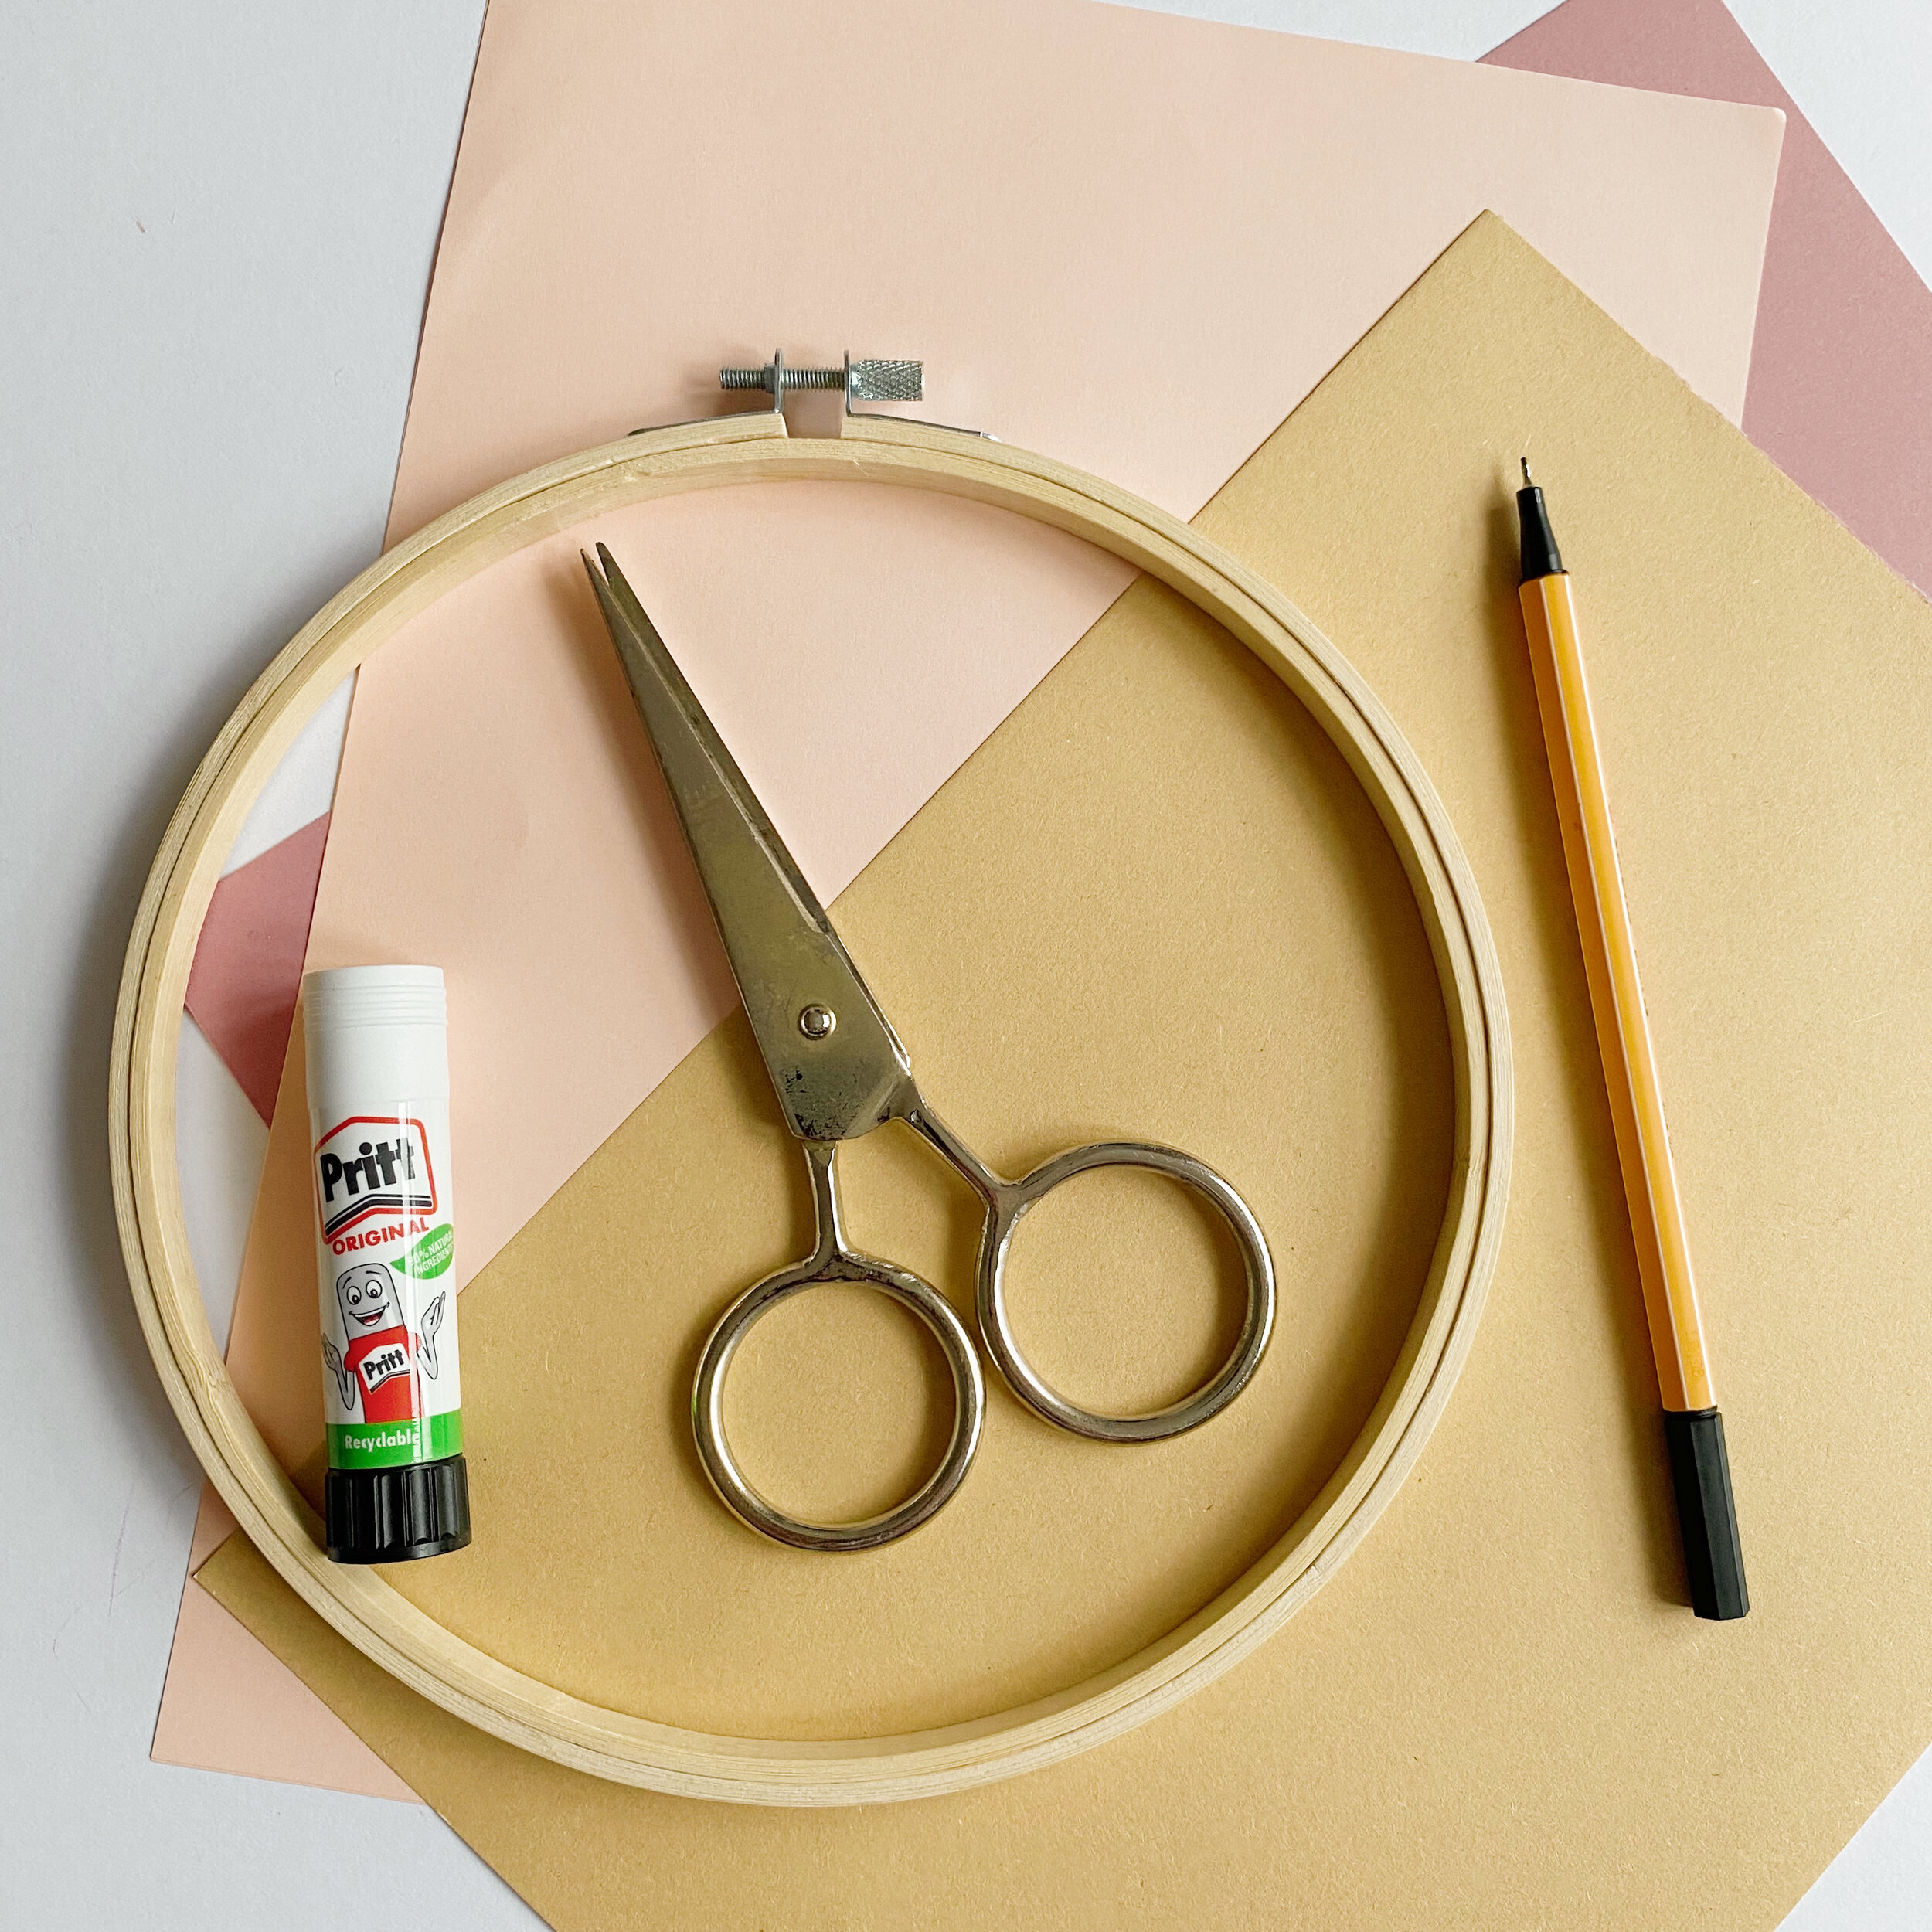
Following on from sharing this wreath on Instagram this week I wanted to pop a little tutorial here for anyone who fancied getting crafty but didn’t know where to start with making paper wreaths. I often use my Cricut machine for paper cutting but this week I taught a papercut workshop at a local school and remembered how fun and relaxing it is to actually cut the paper. We also used scissors rather than craft knives and mats, so no specialist materials required, just some coloured paper, a glue stick, scissors, a pen and a circular base to work around ( I used an 8in embroidery hoop ).

Firstly choose your colour palette, I’ve gone for warm pinks and rust for a nice autumnal feel. Fold your first colour into quarters, this will speed up your cutting and also ensure you have a few leaves that look exactly the same which will help balance your wreath.
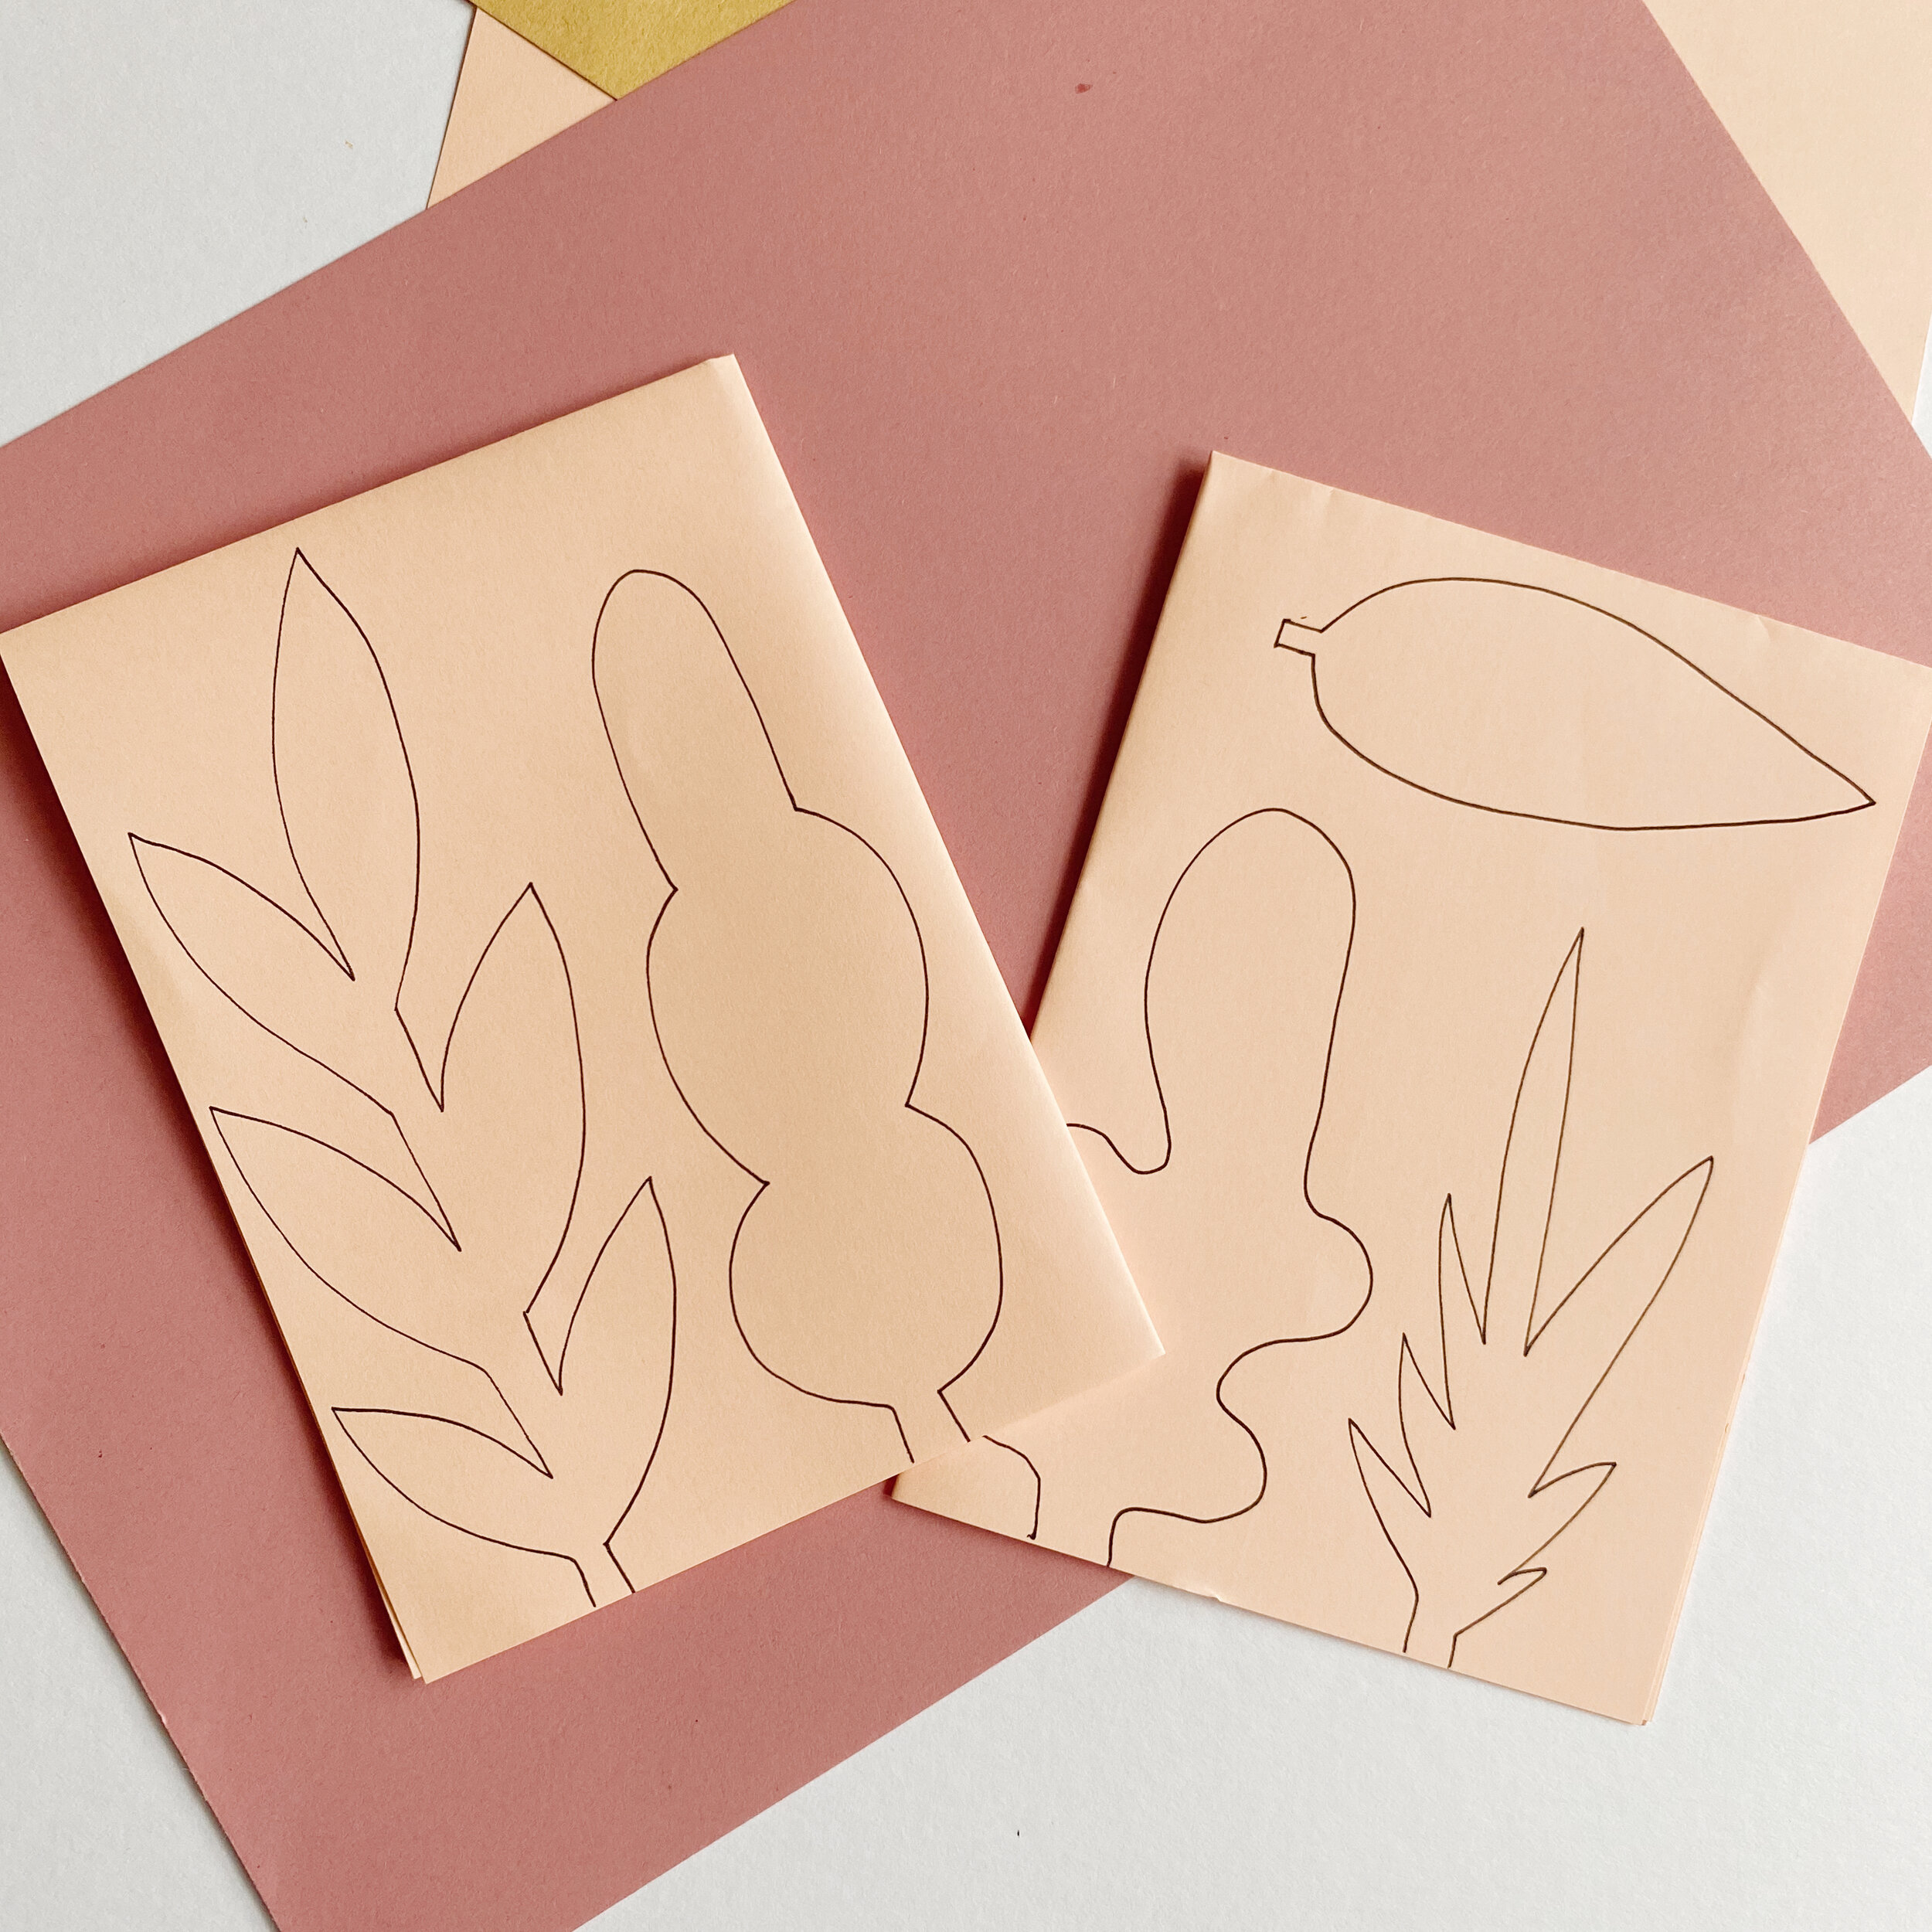
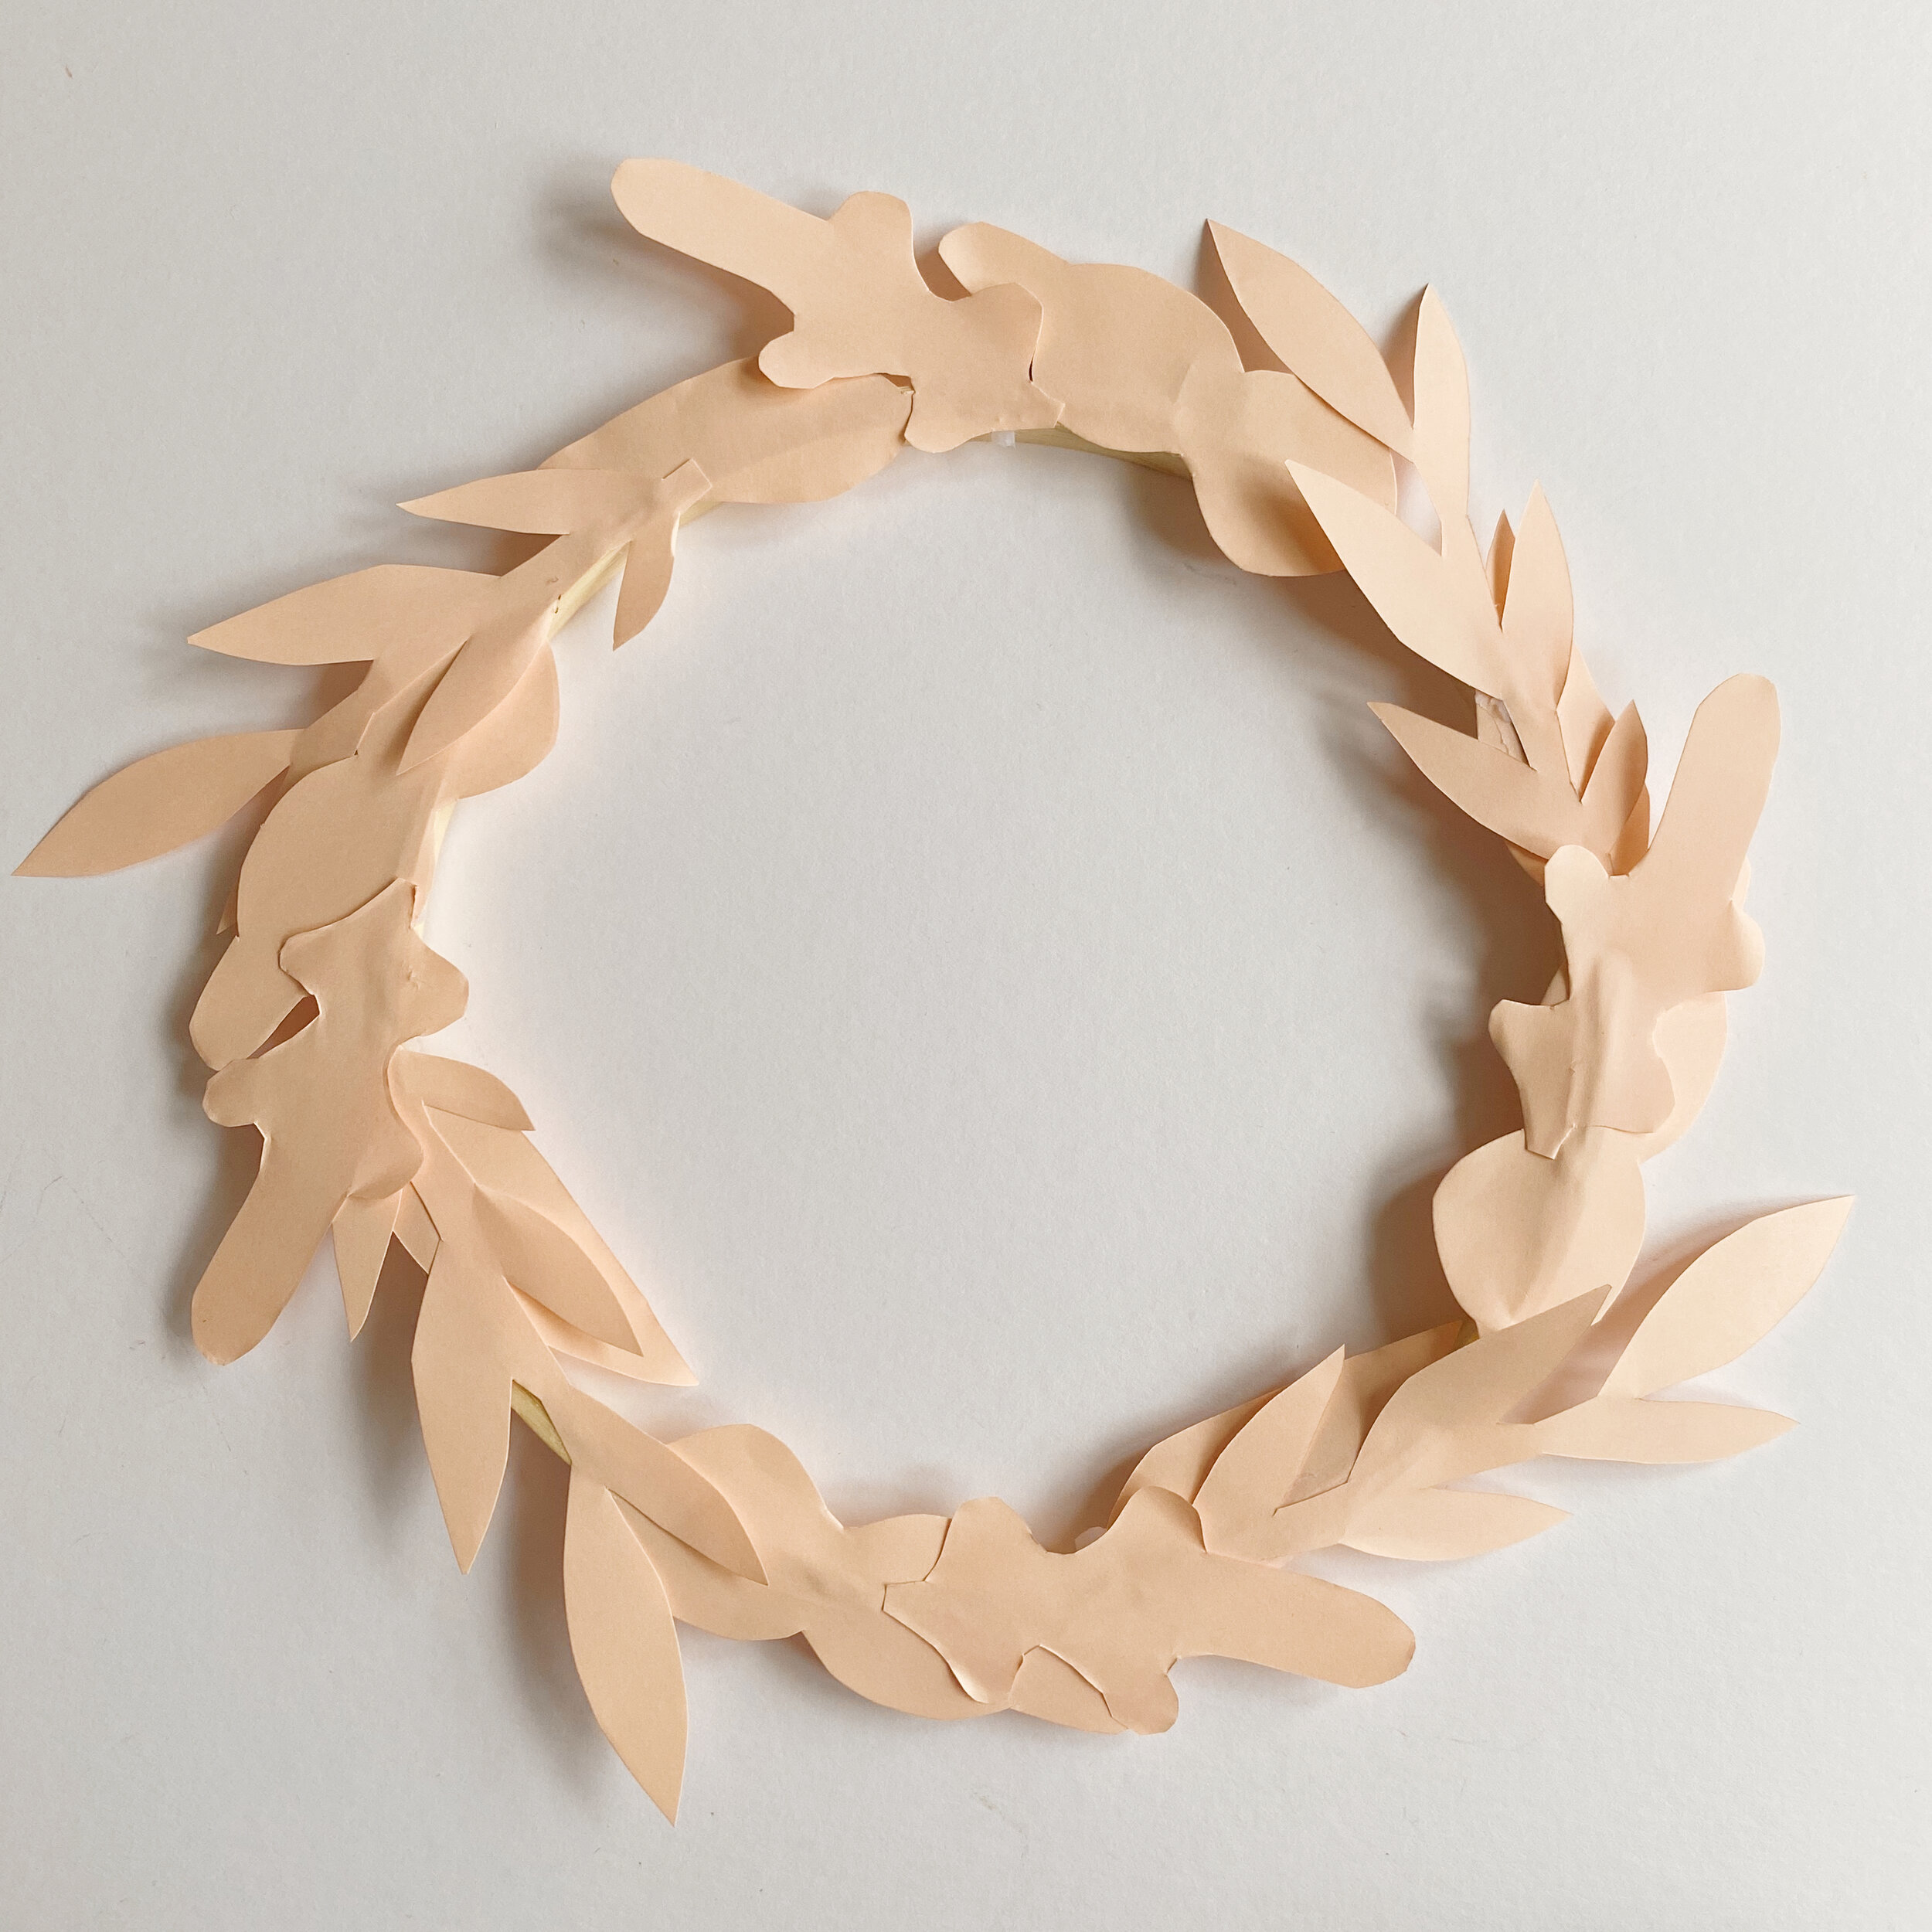
Draw your leaf shapes onto the folded paper, as you can see they just need to be rough leaf shape. However, if you don’t feel confident, I’ve popped some templates at the bottom of this post that you can download, cut out and trace around. Once you’ve cut your leaves begin layering them over each other glueing down to cover the hoop base, I’ve worked my paper around all heading in the same direction to give it a nice flow.

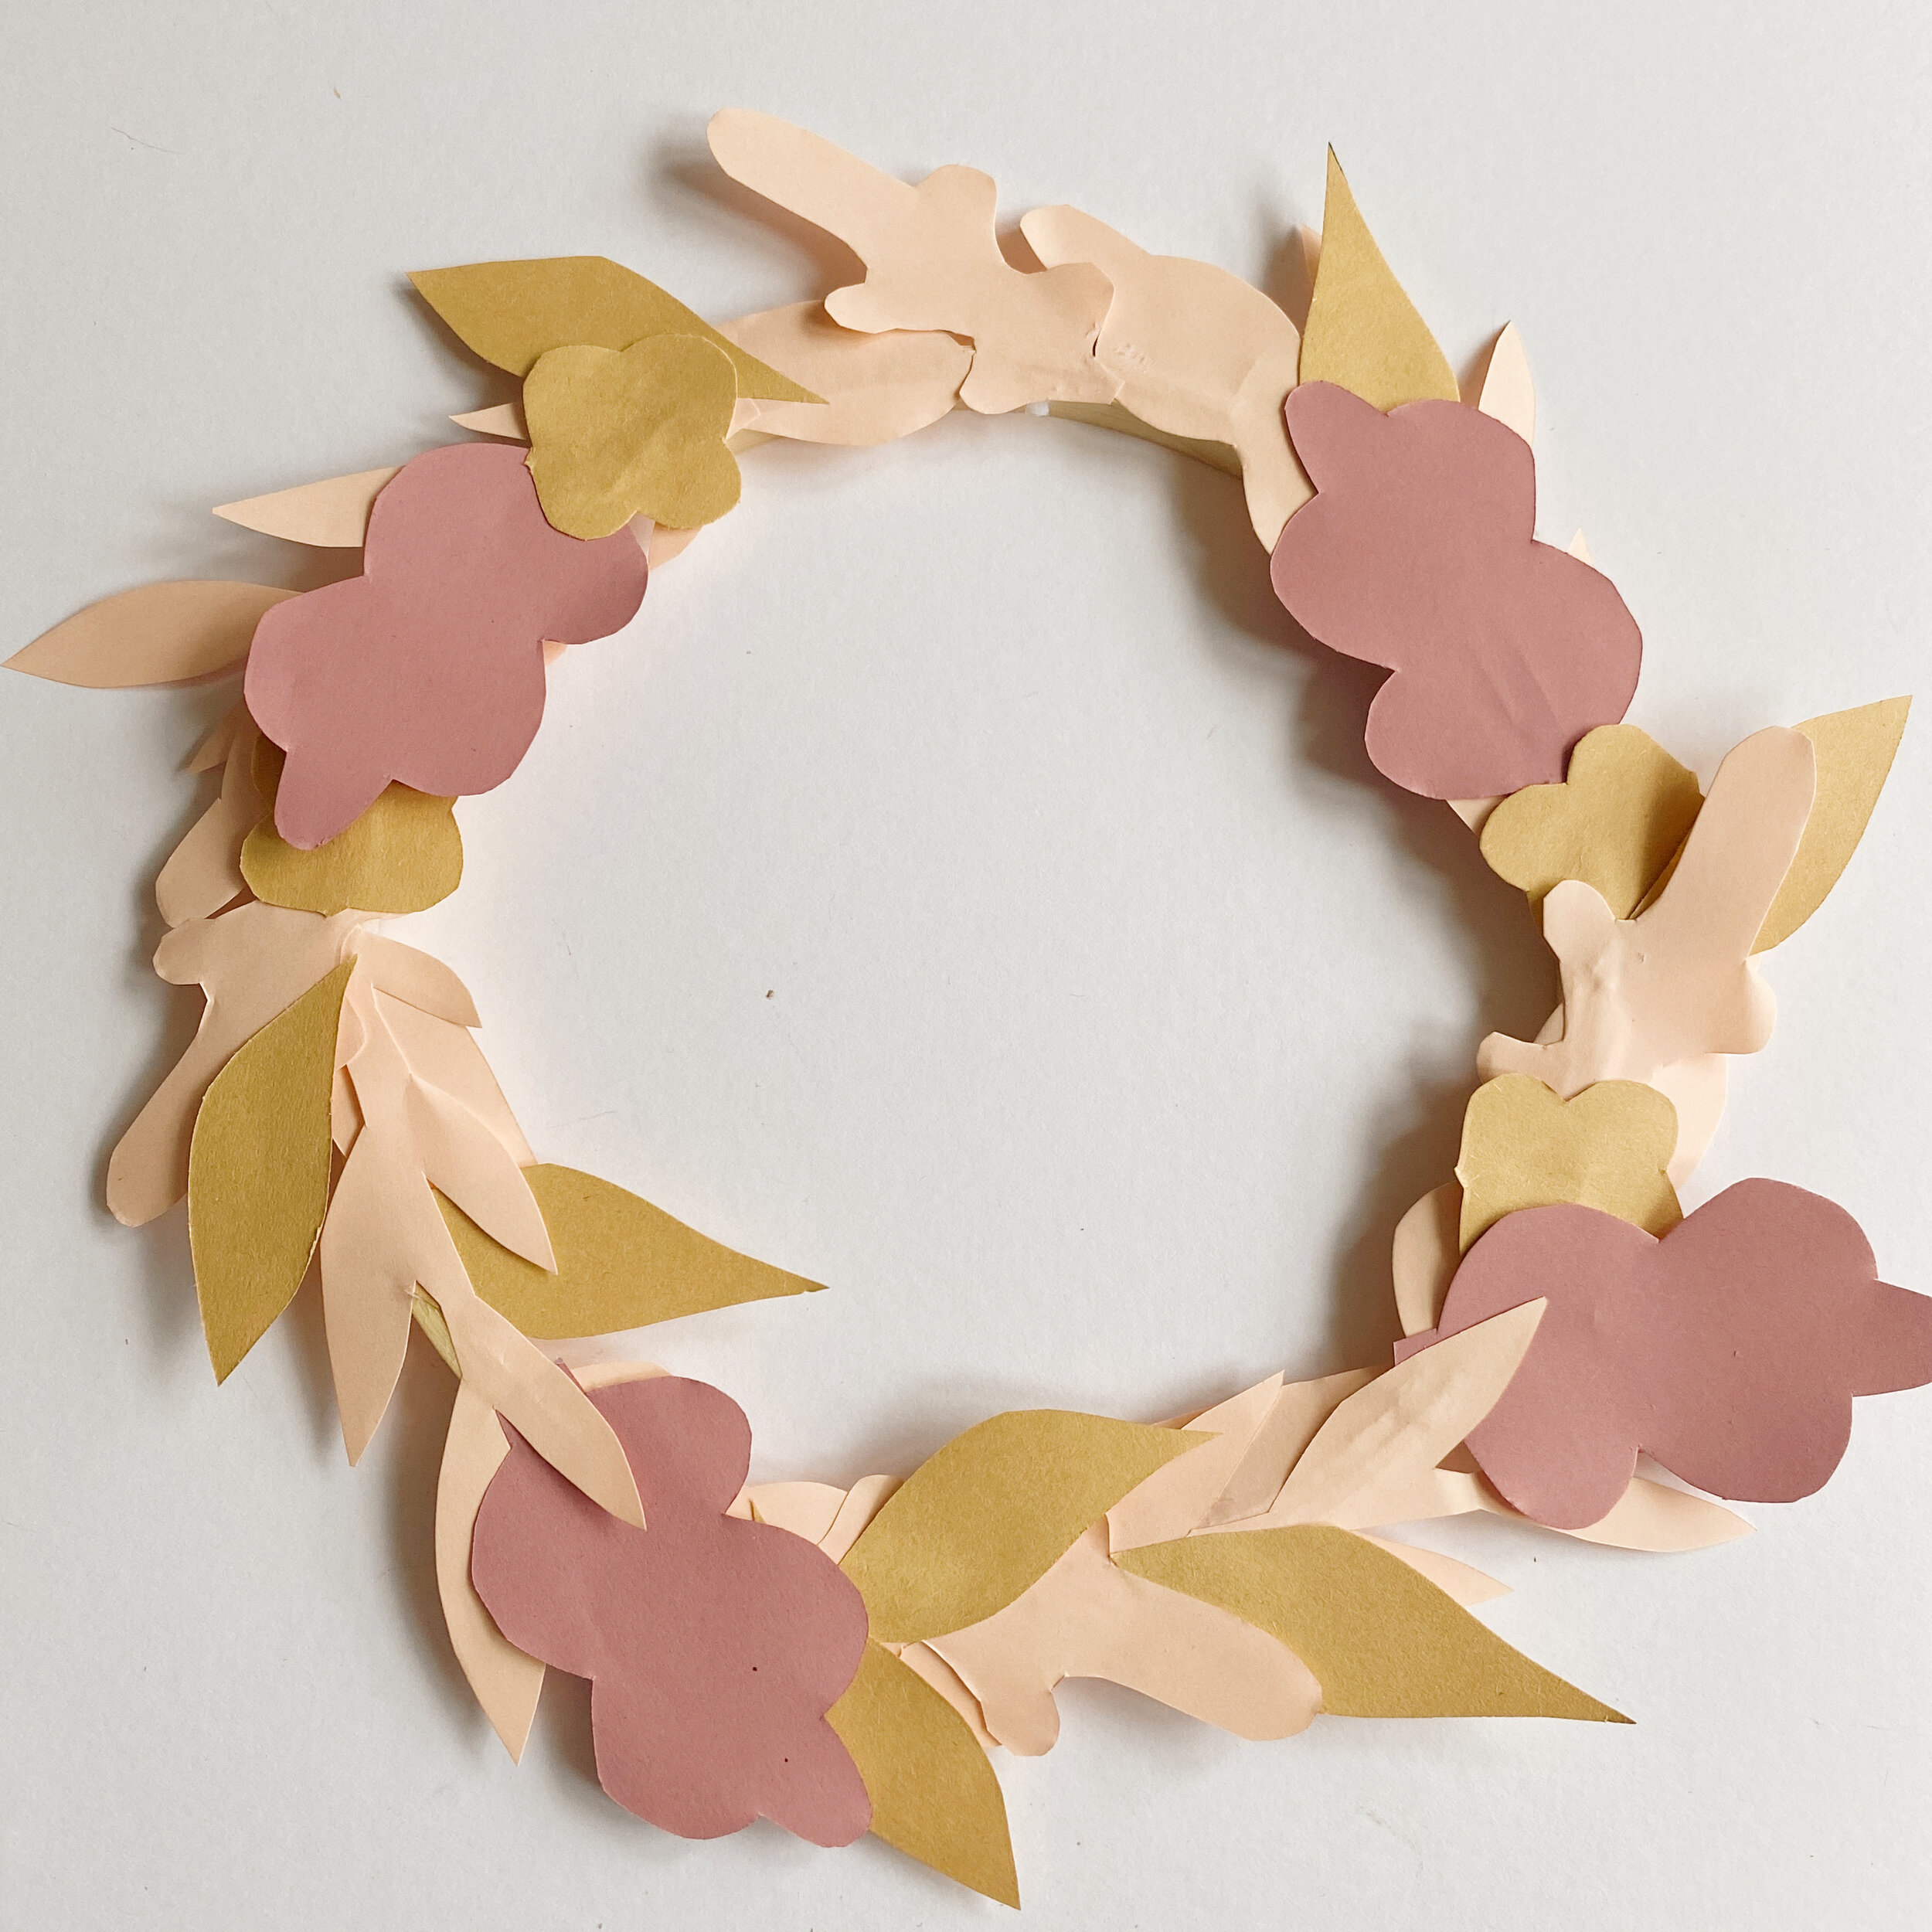
Once your base is covered you can begin to add another colour, again drawing onto the folded paper so with each cut you will get 4 identical shapes. Begin layering up the colours, glueing leaves around the hoop pointing outwards and along the circular line.
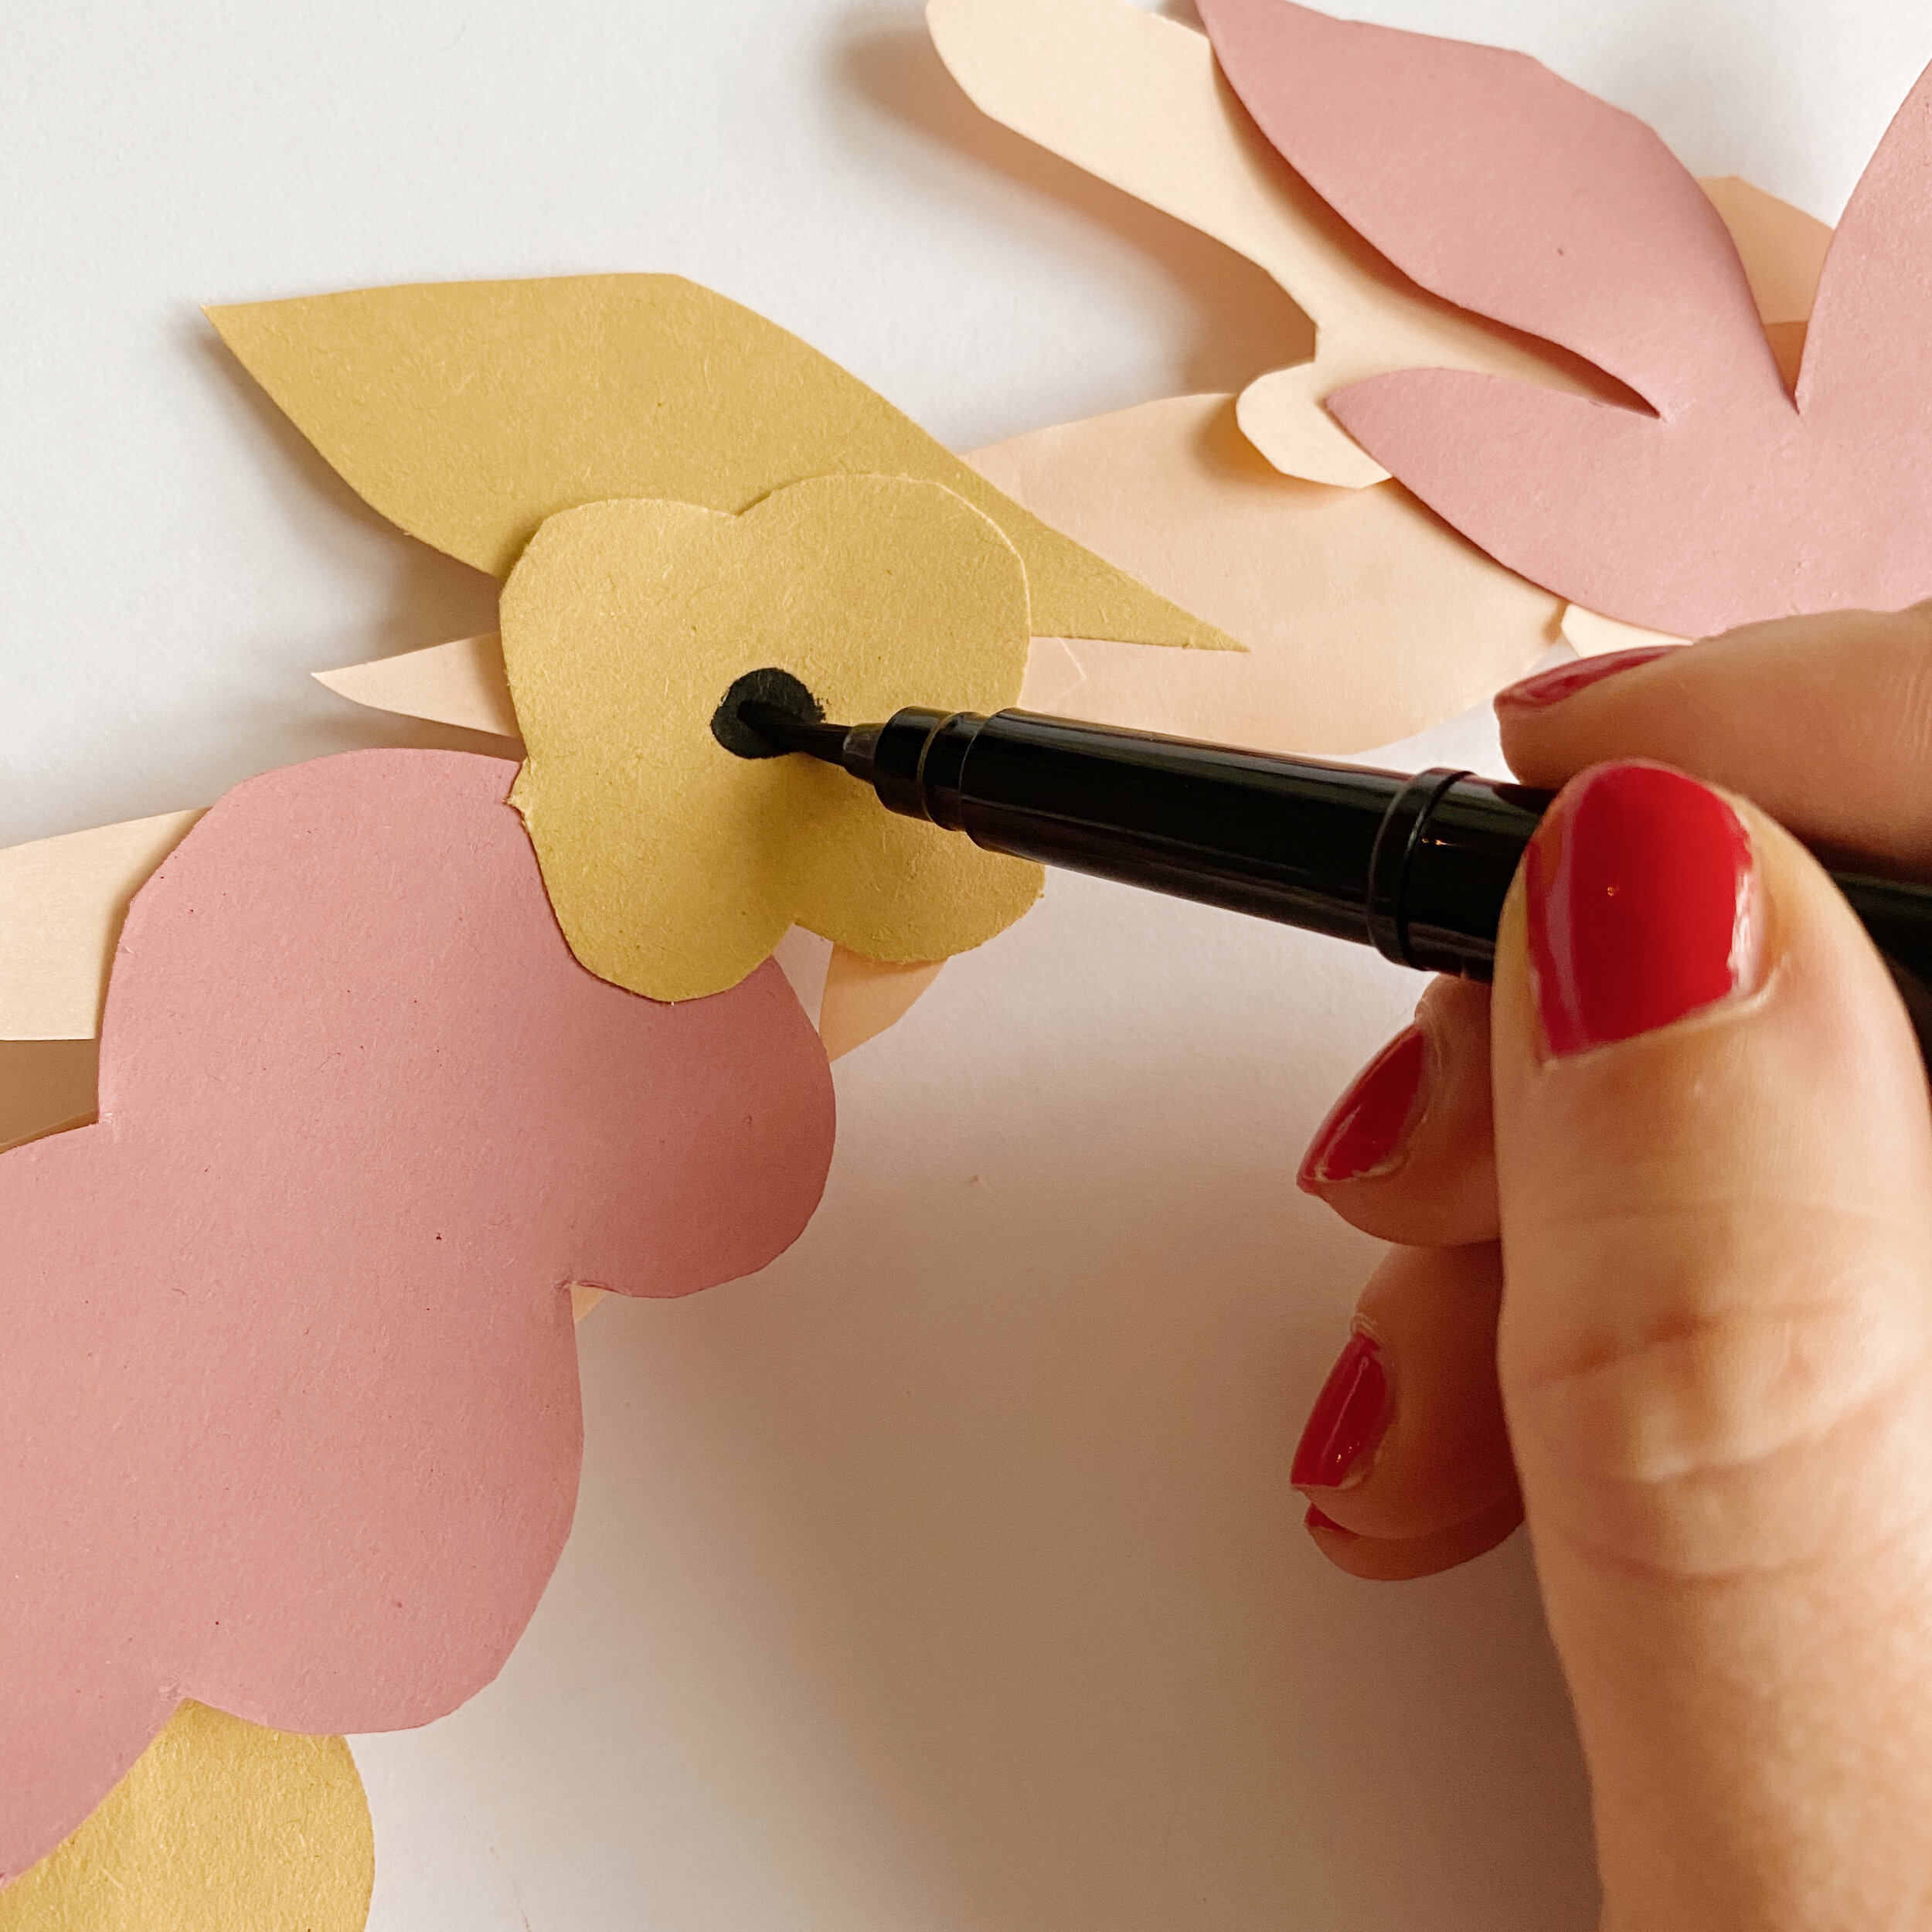
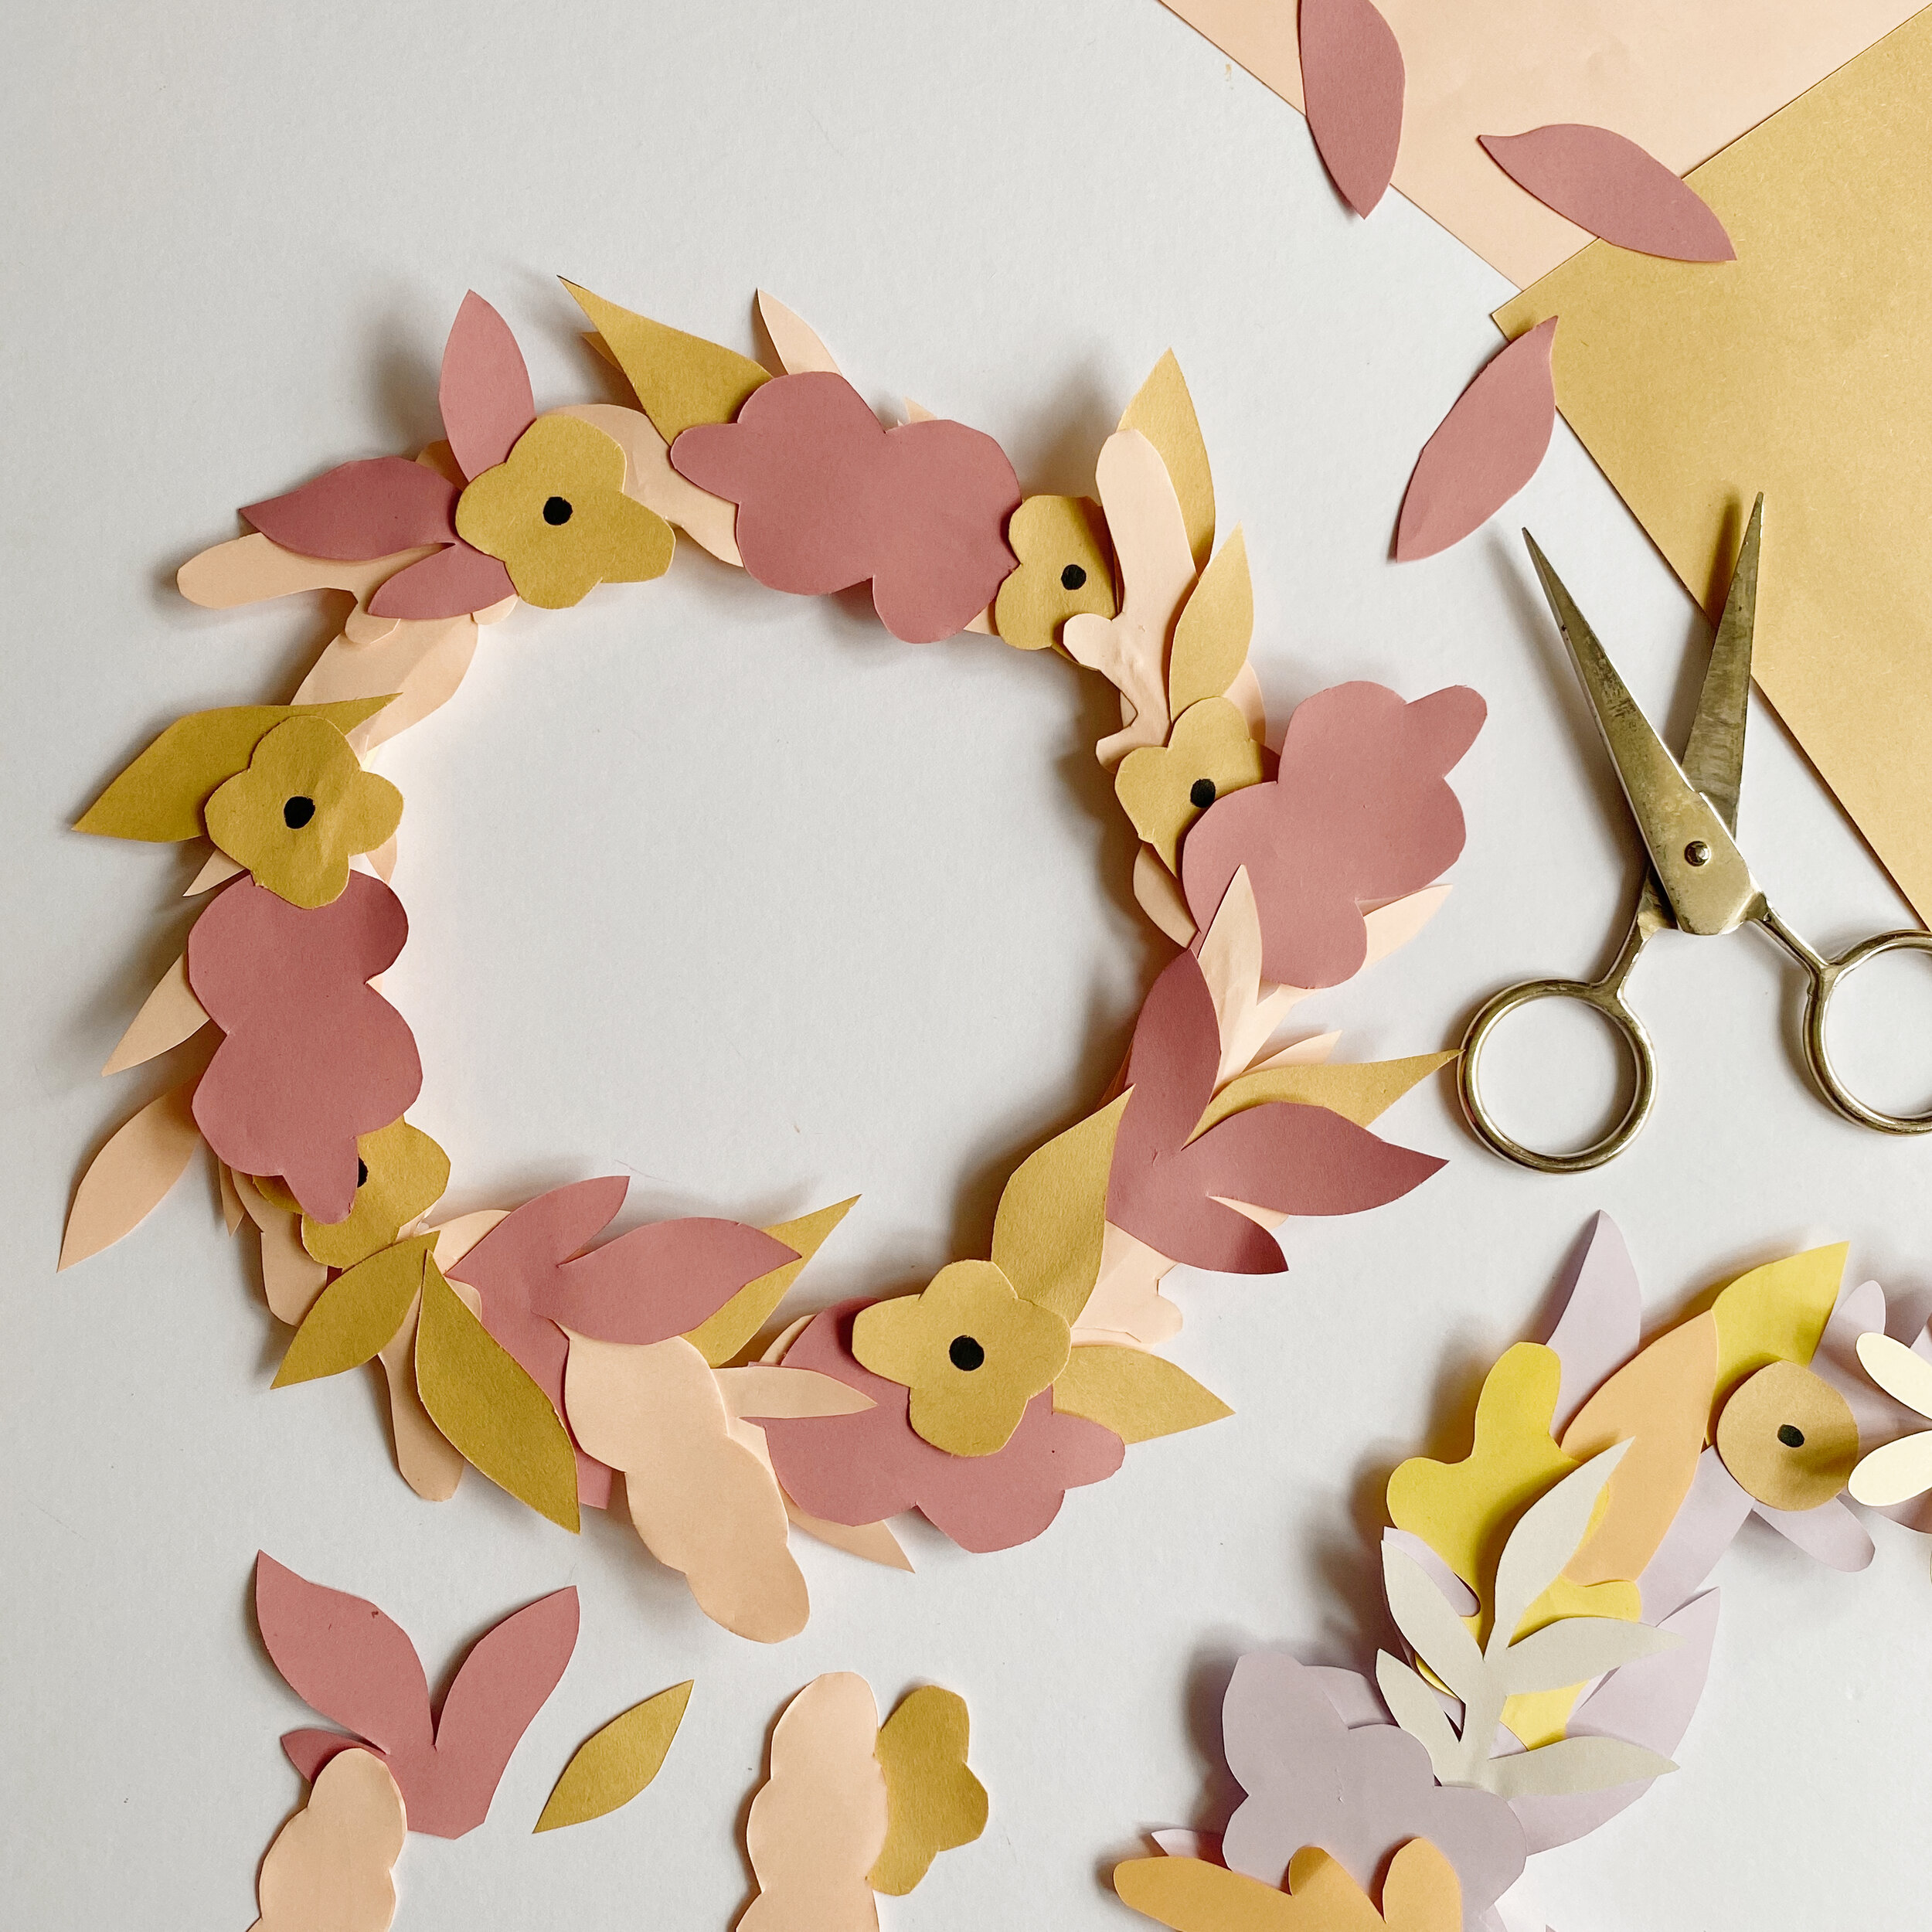
Finally you can use a marker pen to add floral centres to some of the oval shapes within your wreath. This will create some focal points on your wreath. Add a ribbon and hang to celebrate the Autumnal season. I’d love to see if you make one so please do tag me on Instagram .